
If a Java resource pack is missing from the list, start with Open Pack Folder inside the game you are playing. A good download in another launcher instance’s folder will stay invisible here.
There are three separate steps: getting Minecraft to find the pack, moving it to Selected, and applying it with Done. Check which step you have reached before downloading more copies.
Use the folder opened by this Minecraft instance
From the game, open Options → Resource Packs → Open Pack Folder. Put the resource pack ZIP directly in that folder, then return to Resource Packs.
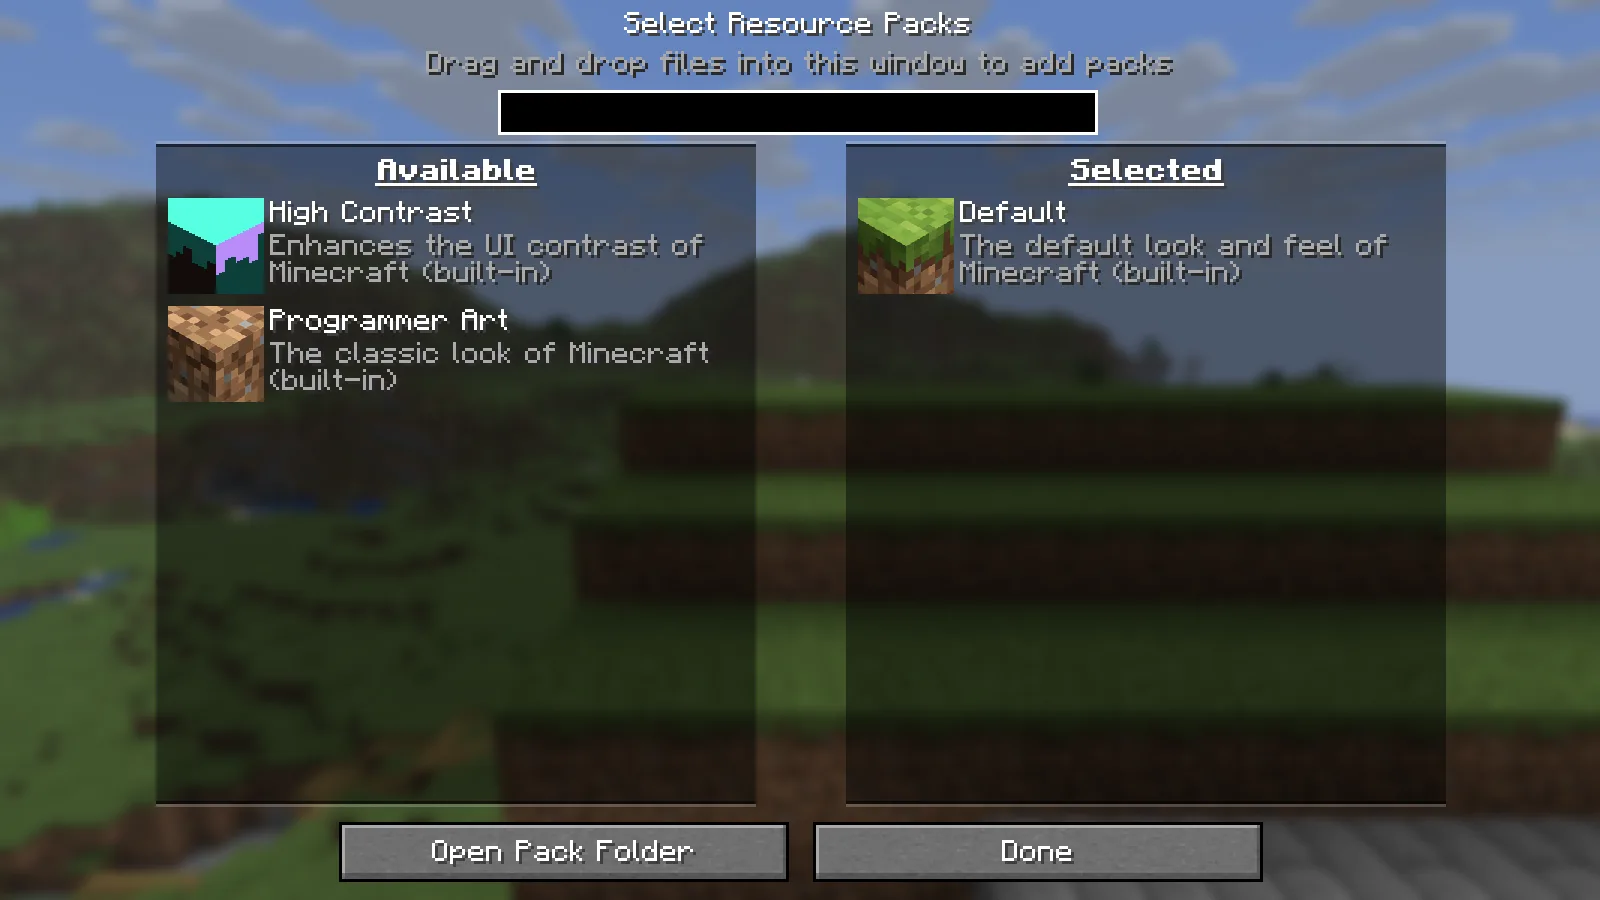
In the first view below, our unchanged pack ZIP was in another instance’s resource-pack folder. The running game showed only its built-in choices.
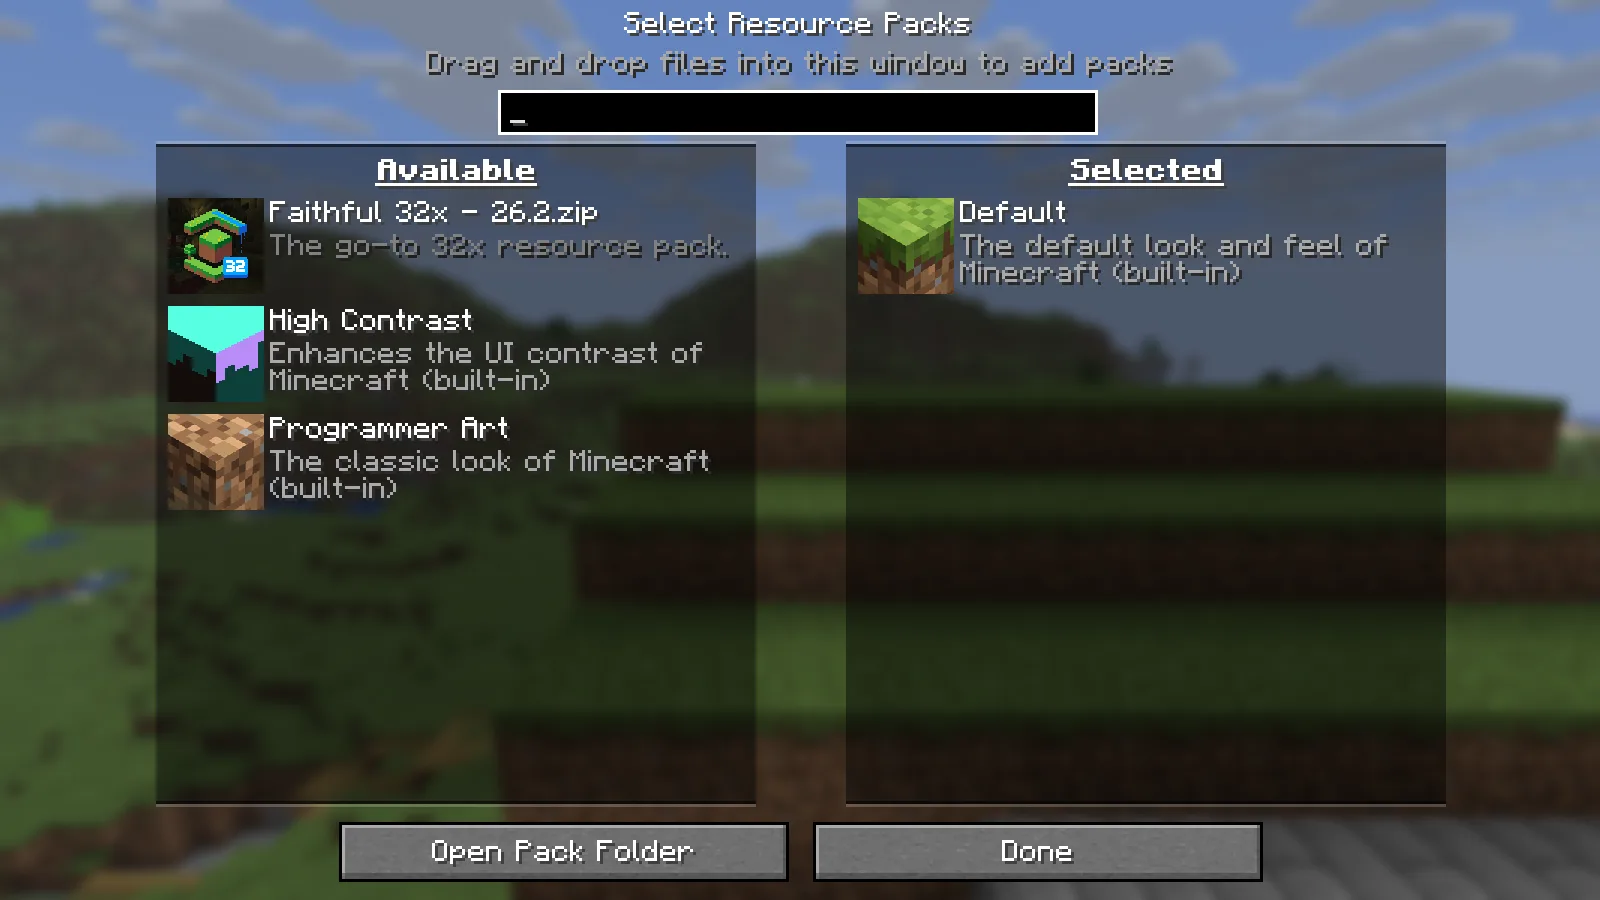
Moving that same ZIP into the folder opened by Minecraft made the pack appear under Available. No change to the archive’s contents was needed.
This is especially useful when you switch between a launcher’s normal installation and separate modded profiles. Check the folder from the running game instead of assuming every profile shares one location. Our guide to the active Minecraft instance explains the same folder mix-up for mods.
A correctly packaged ZIP can stay zipped. Extracting every download is not a required installation step.
If it is still missing, look one level inside the archive
Open the ZIP to inspect its layout. In an ordinary Java texture pack, pack.mcmeta and the assets folder belong directly inside the pack.
An extra enclosing folder can hide them from Minecraft:
download.zip
└── Pack Name
    ├── pack.mcmeta
    └── assets
Here, Pack Name is the actual pack folder. Extract that inner folder and place it directly in the folder opened by Open Pack Folder. Open the extracted folder once to check that you can immediately see pack.mcmeta and assets, without going through another enclosing folder.
Keep the original ZIP as your reference; you do not need to rewrite its metadata or alter its textures to remove an extra level of folders.
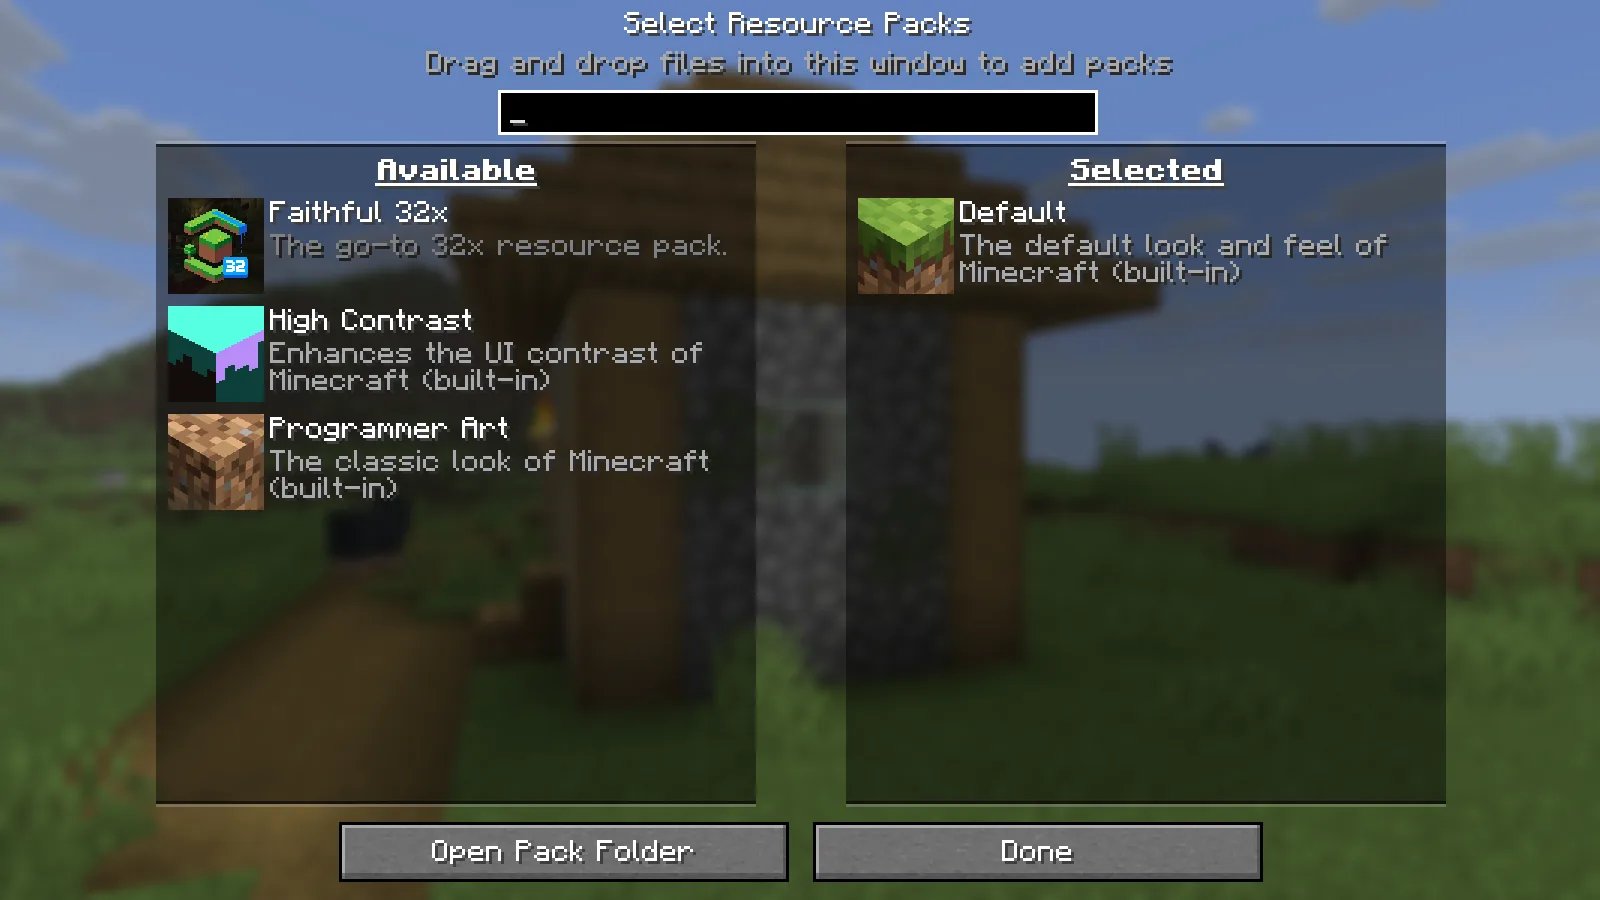
The ZIP in the previous example was already packaged correctly. If your download has the extra layer shown above, use the inner folder instead. Our extracted copy appeared under Available and applied the same textures after selection.
Available does not mean selected
When the pack appears on the left, hover over its icon and click the arrow to move it to Selected on the right. Click Done and let Minecraft apply the change.
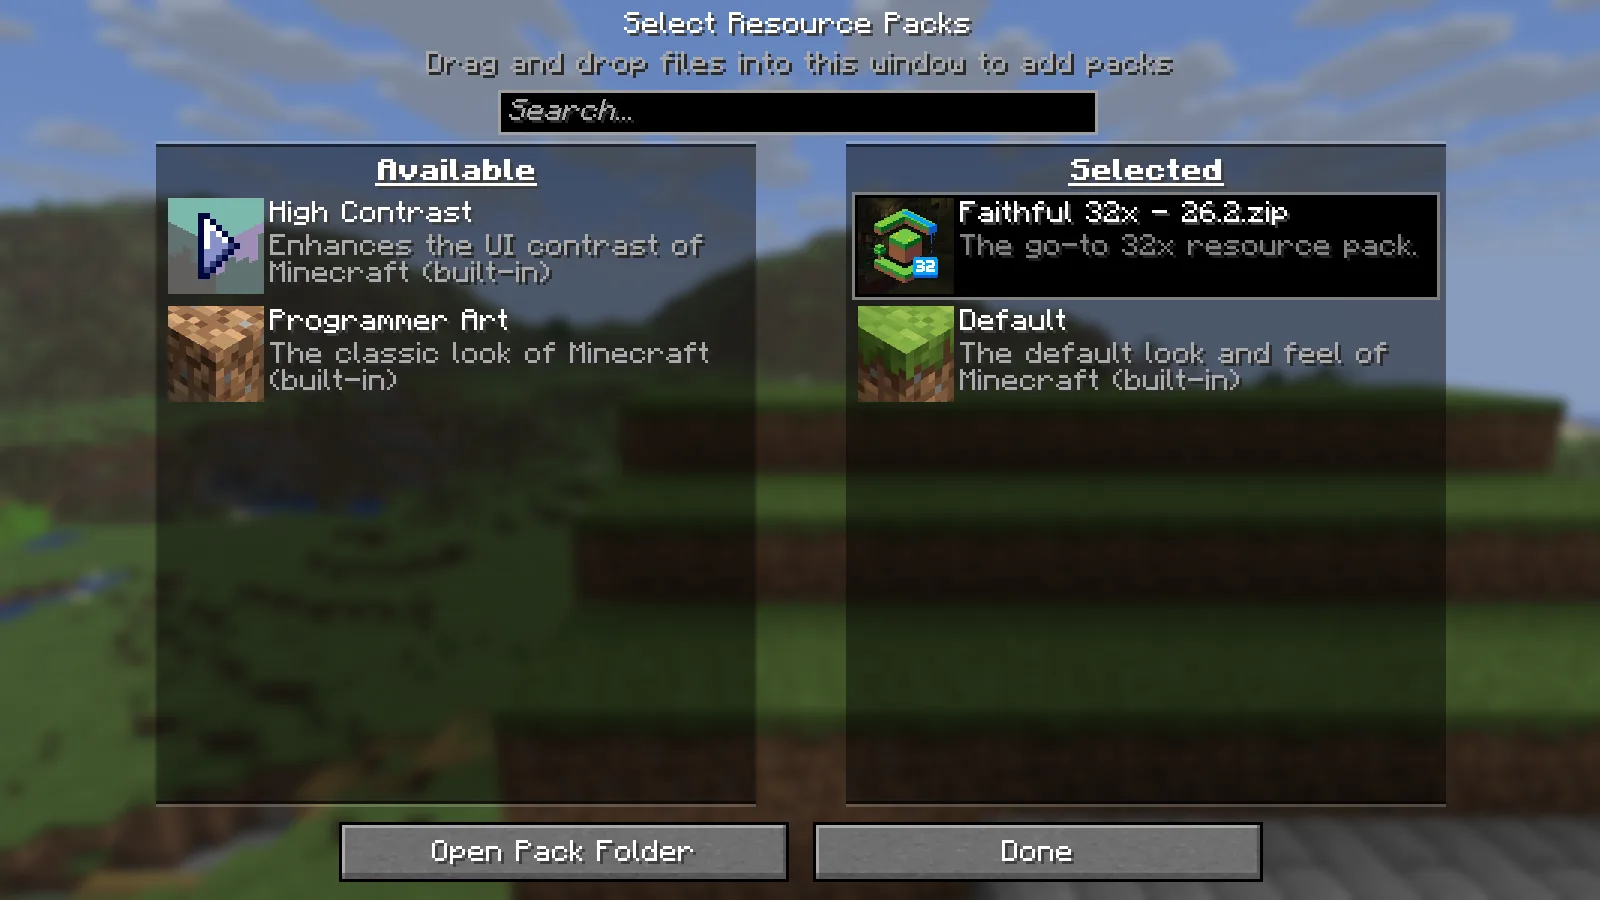
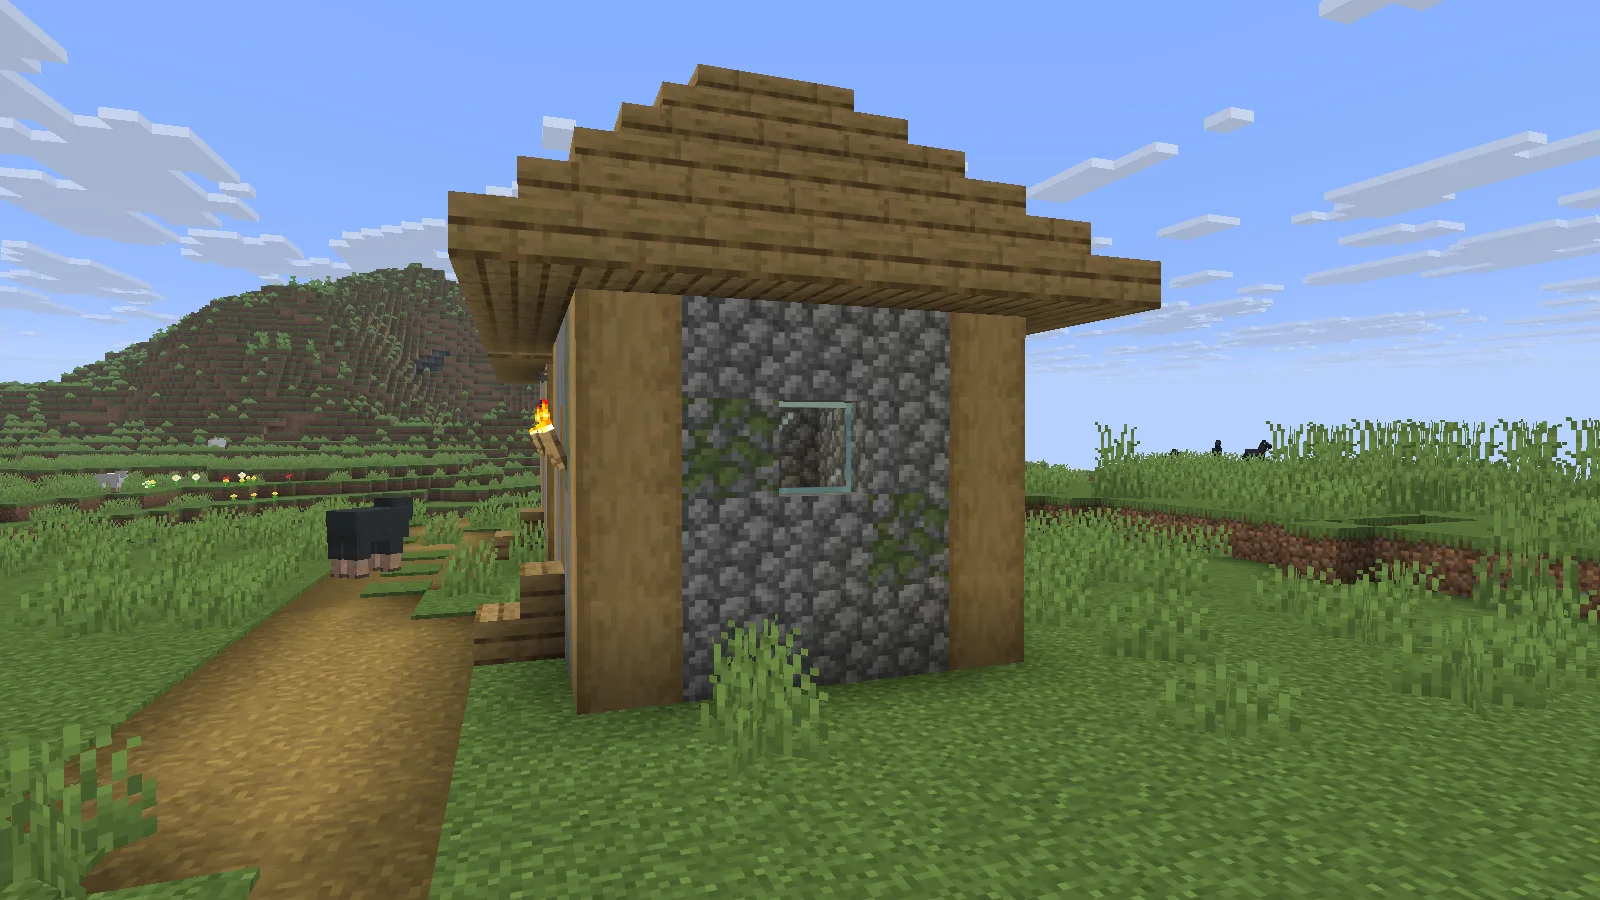
We used Faithful 32x for the comparison below. Its familiar block designs make a distant view easy to misread, so stand close to a textured surface.
First, here is the village wall with the pack off. Look at the cobblestone, the wooden supports and the roof.
Here is the same view with the pack selected and applied. The stone shapes and wood grain have more detail.
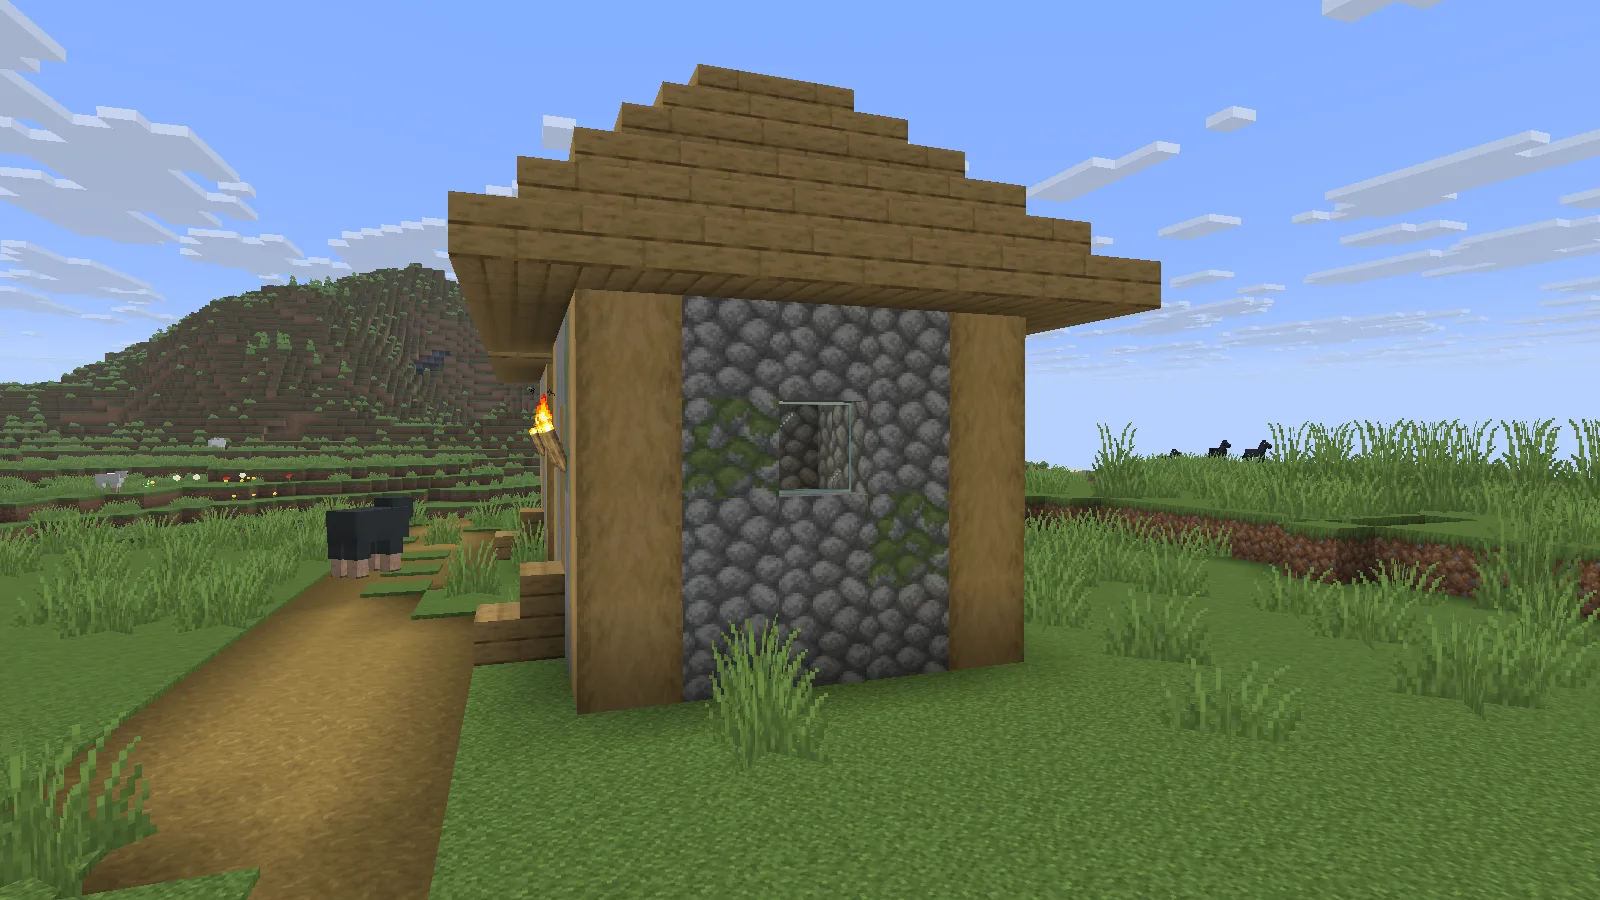
To make your own comparison, move the pack back to Available, press Done, and look from the same position. Then select it again and apply it. Choose a surface the pack actually changes, rather than judging it from a distant landscape.
A warning is a different problem from a missing entry
If the pack appears with “Broken or incompatible,” Minecraft has found an entry to display. Moving it between folders is no longer the useful first step.
Check that you have a current release intended for your Minecraft version. An older download can carry outdated metadata even when its filename sounds right. Changing a number in pack.mcmeta does not update the pack’s textures or models for another release.
For the working example above, we used the creator’s current matching ZIP unchanged. Find the correct download first, then check its folder, select it and apply it.
Comments 0
Share what worked, ask for help or reply to another player.
Use your Modonix account to join the discussion and manage your comments.
Sign in to commentNo comments yet. Share what worked for you.