
Downloaded a pack and now have an .mrpack file you cannot open? Import it into Prism as a new instance—there is no need to unpack it into your mods folder. A separate instance keeps the pack’s game version and loader together and leaves your existing setup in place.
Choose a client pack
Use the client release made for the Minecraft version and loader you want to play. This guide uses Additive by SkywardMC as its example. Prism’s Import option accepts a locally saved .mrpack or a Prism-compatible modpack .zip; the .zip extension alone does not mean a file is a compatible pack.
A mod .jar is one mod, not a complete modpack. A resource-pack .zip contains visual assets and belongs in the resource-pack workflow, not Import. A server pack is prepared for a server rather than a client instance. If you are unsure which download to choose, check the creator’s file labels and installation notes before importing.
Import it as a new instance
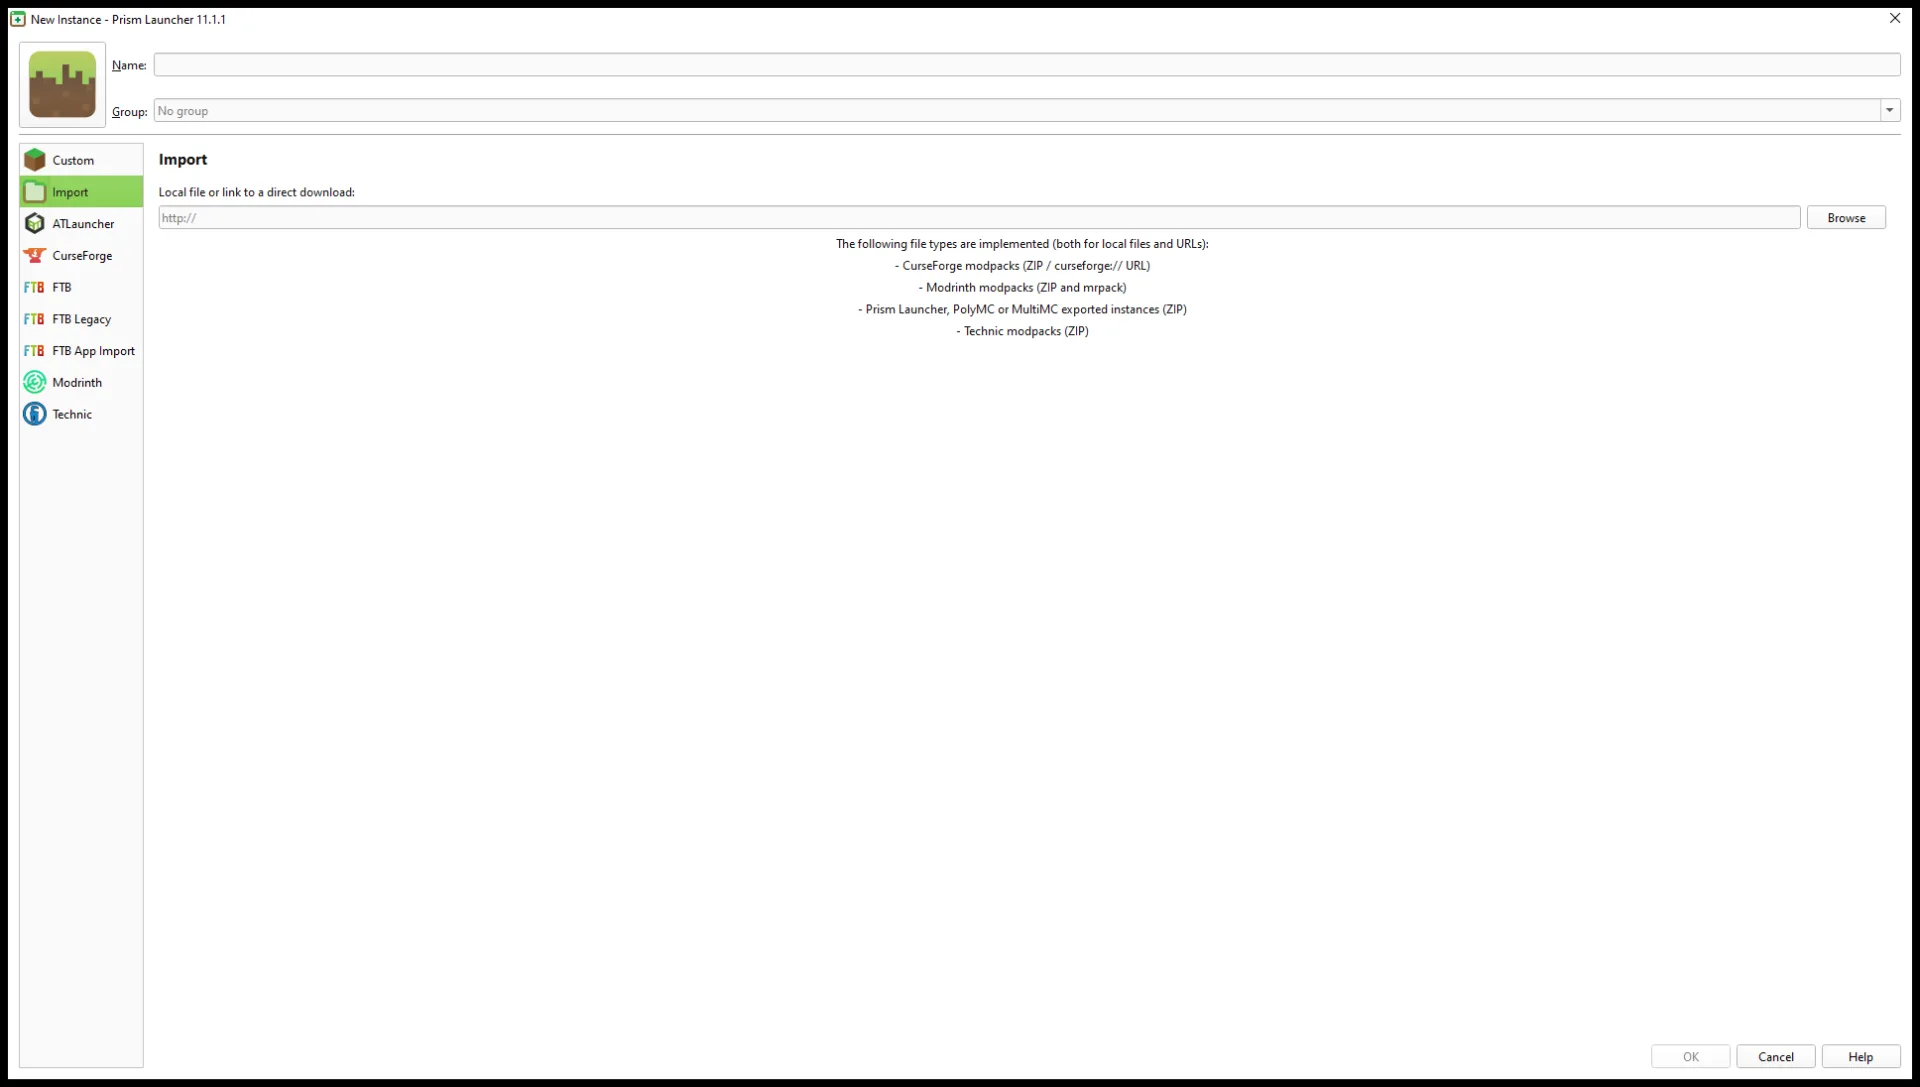
In Prism Launcher, choose Add Instance → Import → Browse. Select the downloaded archive, enter a recognizable name in Name, then choose OK. Do not extract the archive first; import the saved pack file so Prism can read its information and set up the instance components. Keep your existing instance in place; the imported pack gets its own instance and settings.
Check what Prism imported
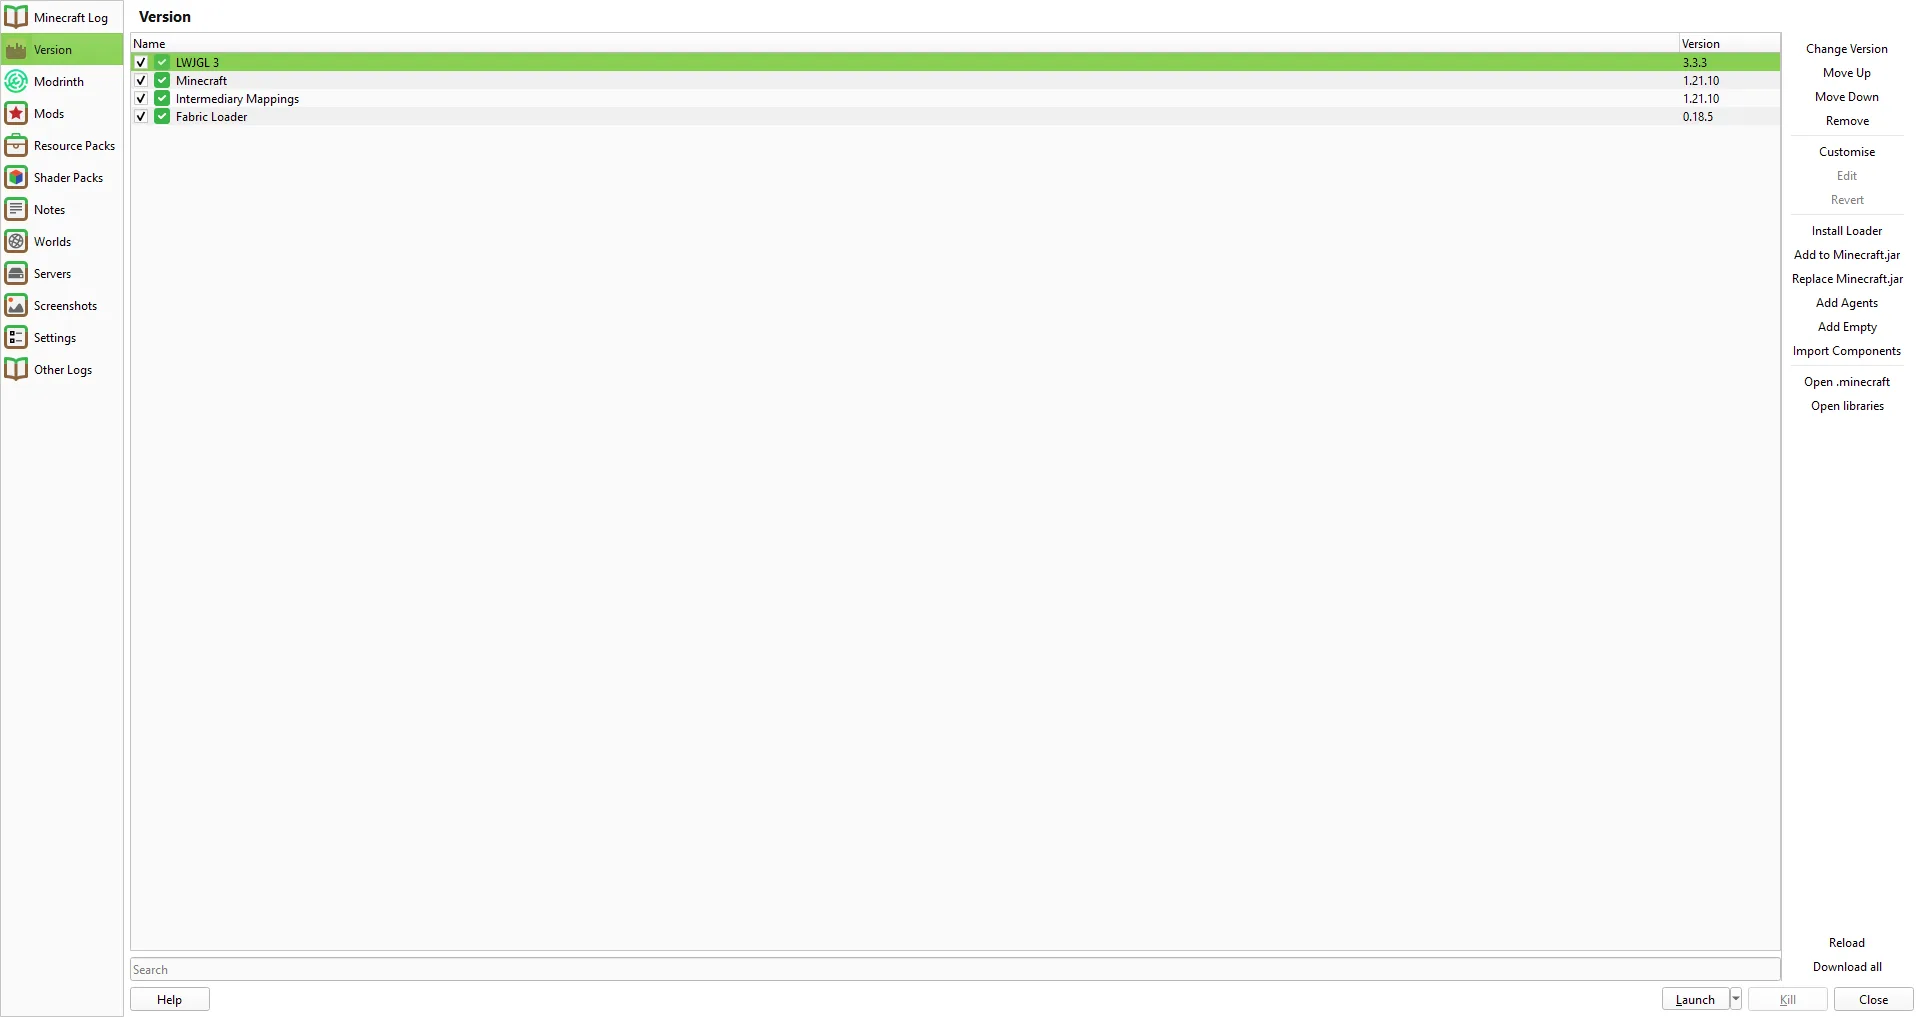
Right-click the new instance and choose Edit → Version. Check the Minecraft version and loader against the release you downloaded. For the Additive example, this screen showed Minecraft 1.21.10 and Fabric 0.18.5. If the imported combination does not match the pack release, stop and choose the matching client release instead of swapping version components at random.
You can open Edit → Mods to see the pack’s mod entries. Avoid adding another copy of something already included. If you add a separate mod later, choose a build for the same Minecraft version and loader, and follow its creator’s compatibility notes.
Prism may download pack components during import. If a notice asks you to get a file manually, check its name and version and follow the pack creator’s instructions or the component author’s official source. Do not substitute a similarly named file from an unrelated download site. No manual-download warning appeared when importing this Additive release; another pack can have different requirements.
Launch the new pack
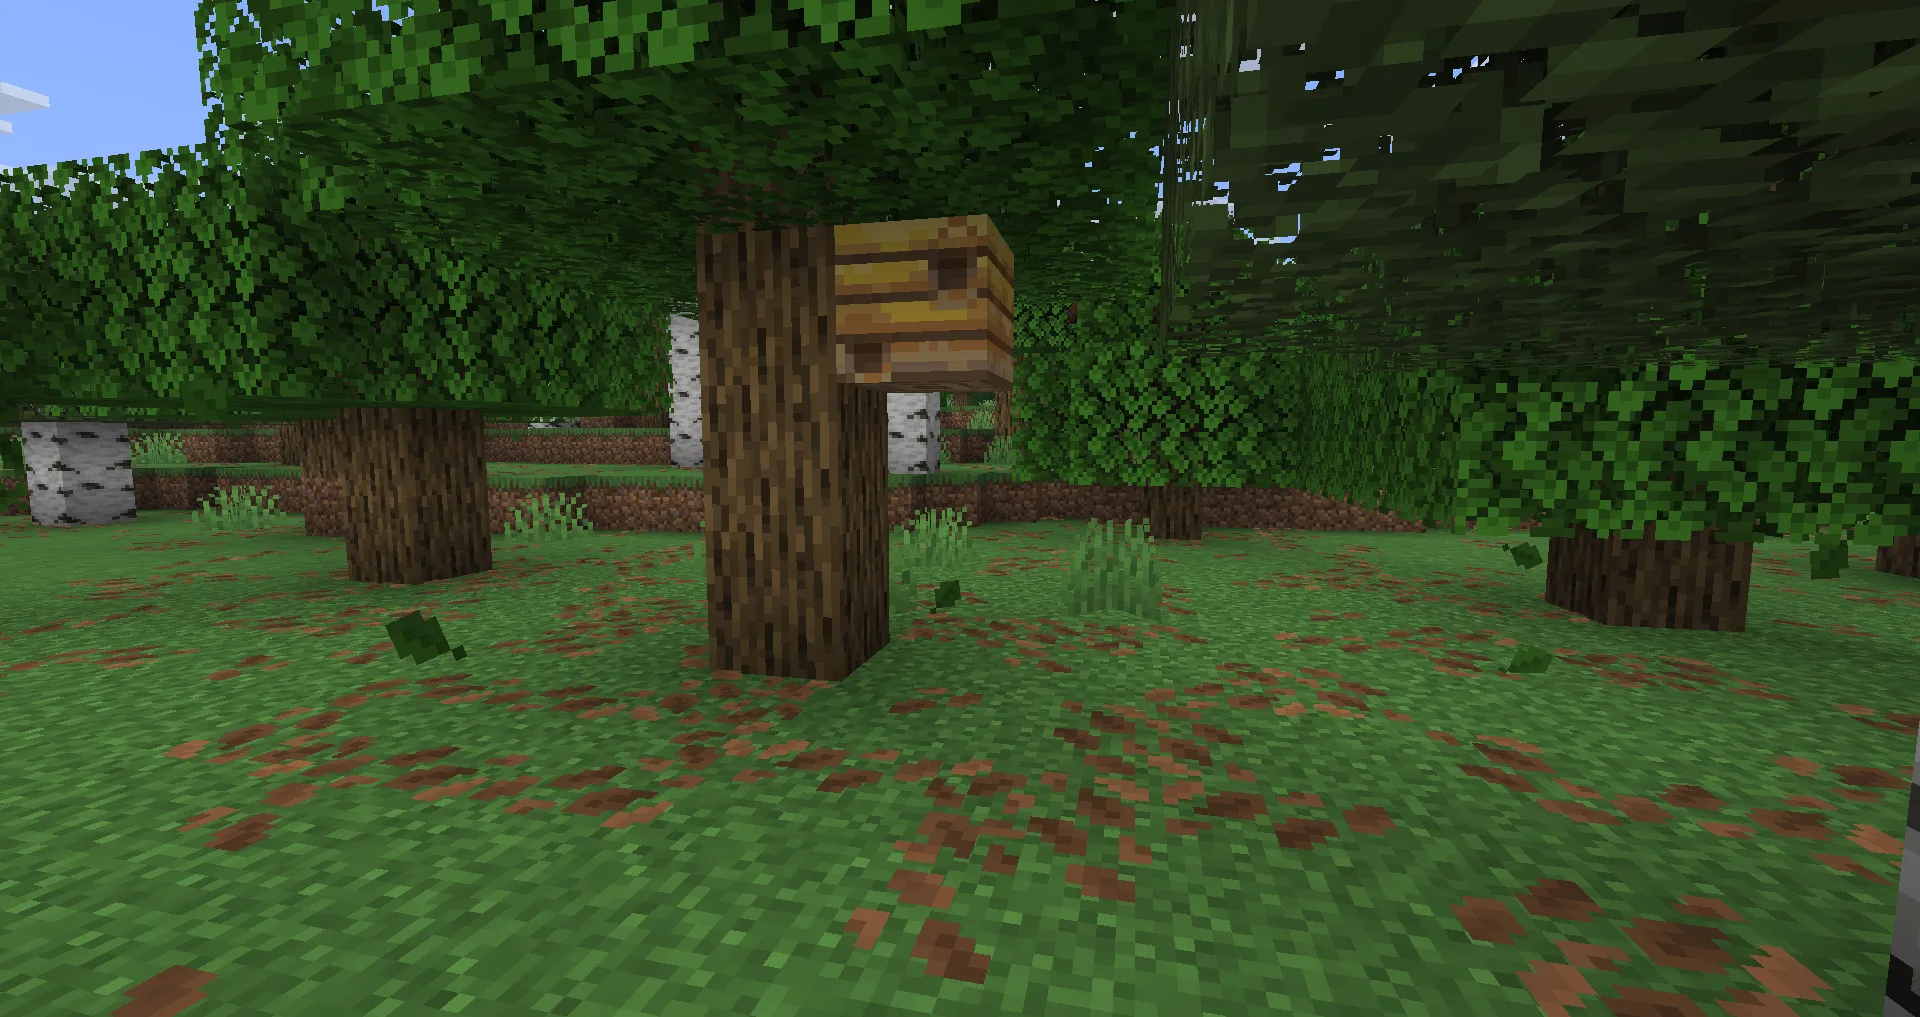
Select the imported instance and choose Launch. Wait for Minecraft’s title screen, then create a fresh world to check that the pack reaches gameplay. If you plan to try an existing world with a different mod setup, make a separate backup first. Walk around and open the inventory before moving on to your survival save.
If the game stops before the title screen, read the first clear error and check the named version, loader, or missing component. If it identifies a missing mod or library, the missing-dependency guide covers that separate launch problem. Keep the imported instance intact while you diagnose it, and leave your other instances and worlds alone.
Comments 0
Share what worked, ask for help or reply to another player.
Use your Modonix account to join the discussion and manage your comments.
Sign in to commentNo comments yet. Share what worked for you.