
Missing the Shader Packs button in Minecraft Java? Open Options... → Video Settings... in the profile you launched. A Minecraft Java profile running without shader mods such as Iris has no Shader Packs... control. An empty pack list is a different problem: the shader screen is there, but it cannot see a pack.
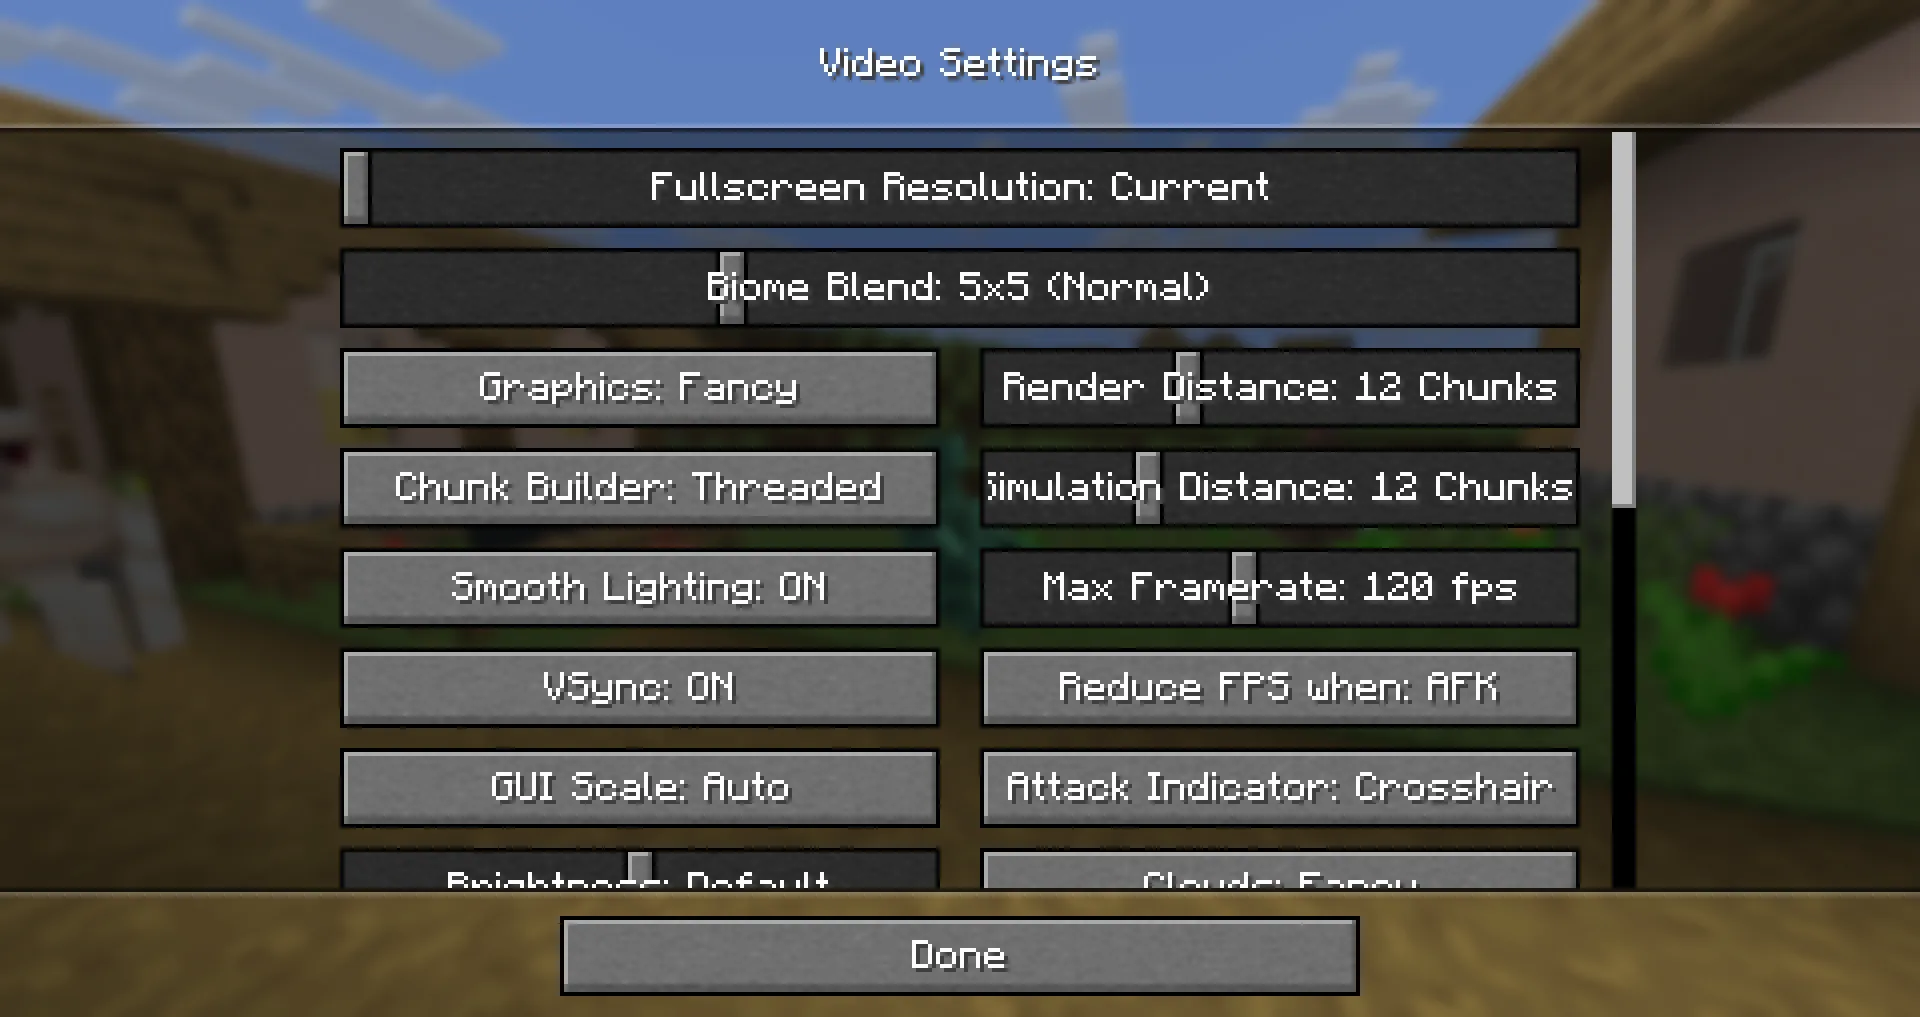
Check the launched instance
In your launcher, select the profile you intend to play and check its Minecraft version and loader. A mod installed in another profile does not add its menu to the instance currently running. Keep separate profiles for separate game versions or mod setups so you can tell which one you are checking.
If the shader control is missing, verify that Iris is installed in this profile for its Minecraft version and loader. Iris provides the shader-pack screen and is installed with Sodium. Use the Iris installer or the official instructions for the matching Iris and Sodium versions, then launch this same profile again. With Iris active, open Options... → Video Settings... → Shader Packs....
If the shader list is empty
On the Shader Packs screen, Shaders: No Packs Present means this instance has not found a pack to list. Choose Open Shader Pack Folder.... That opens the location Iris is reading, which is safer than guessing a global .minecraft path when your launcher keeps instances separate.
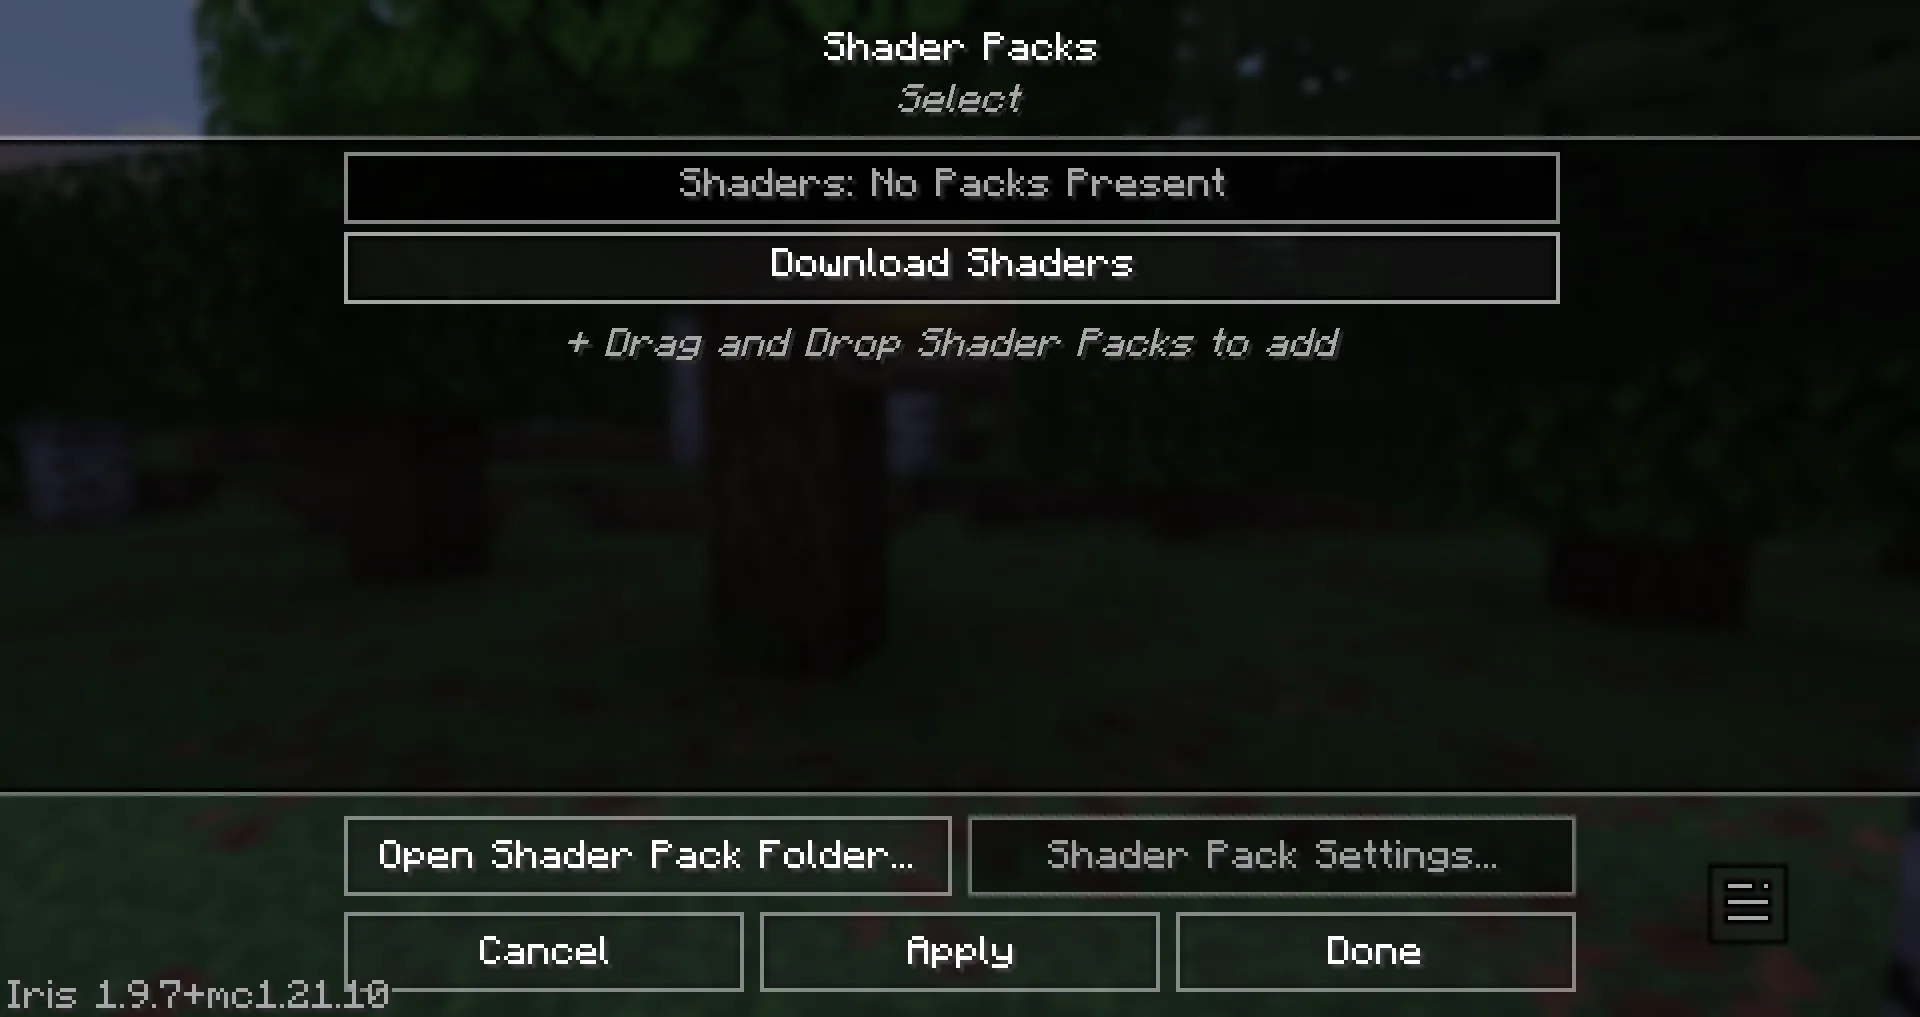
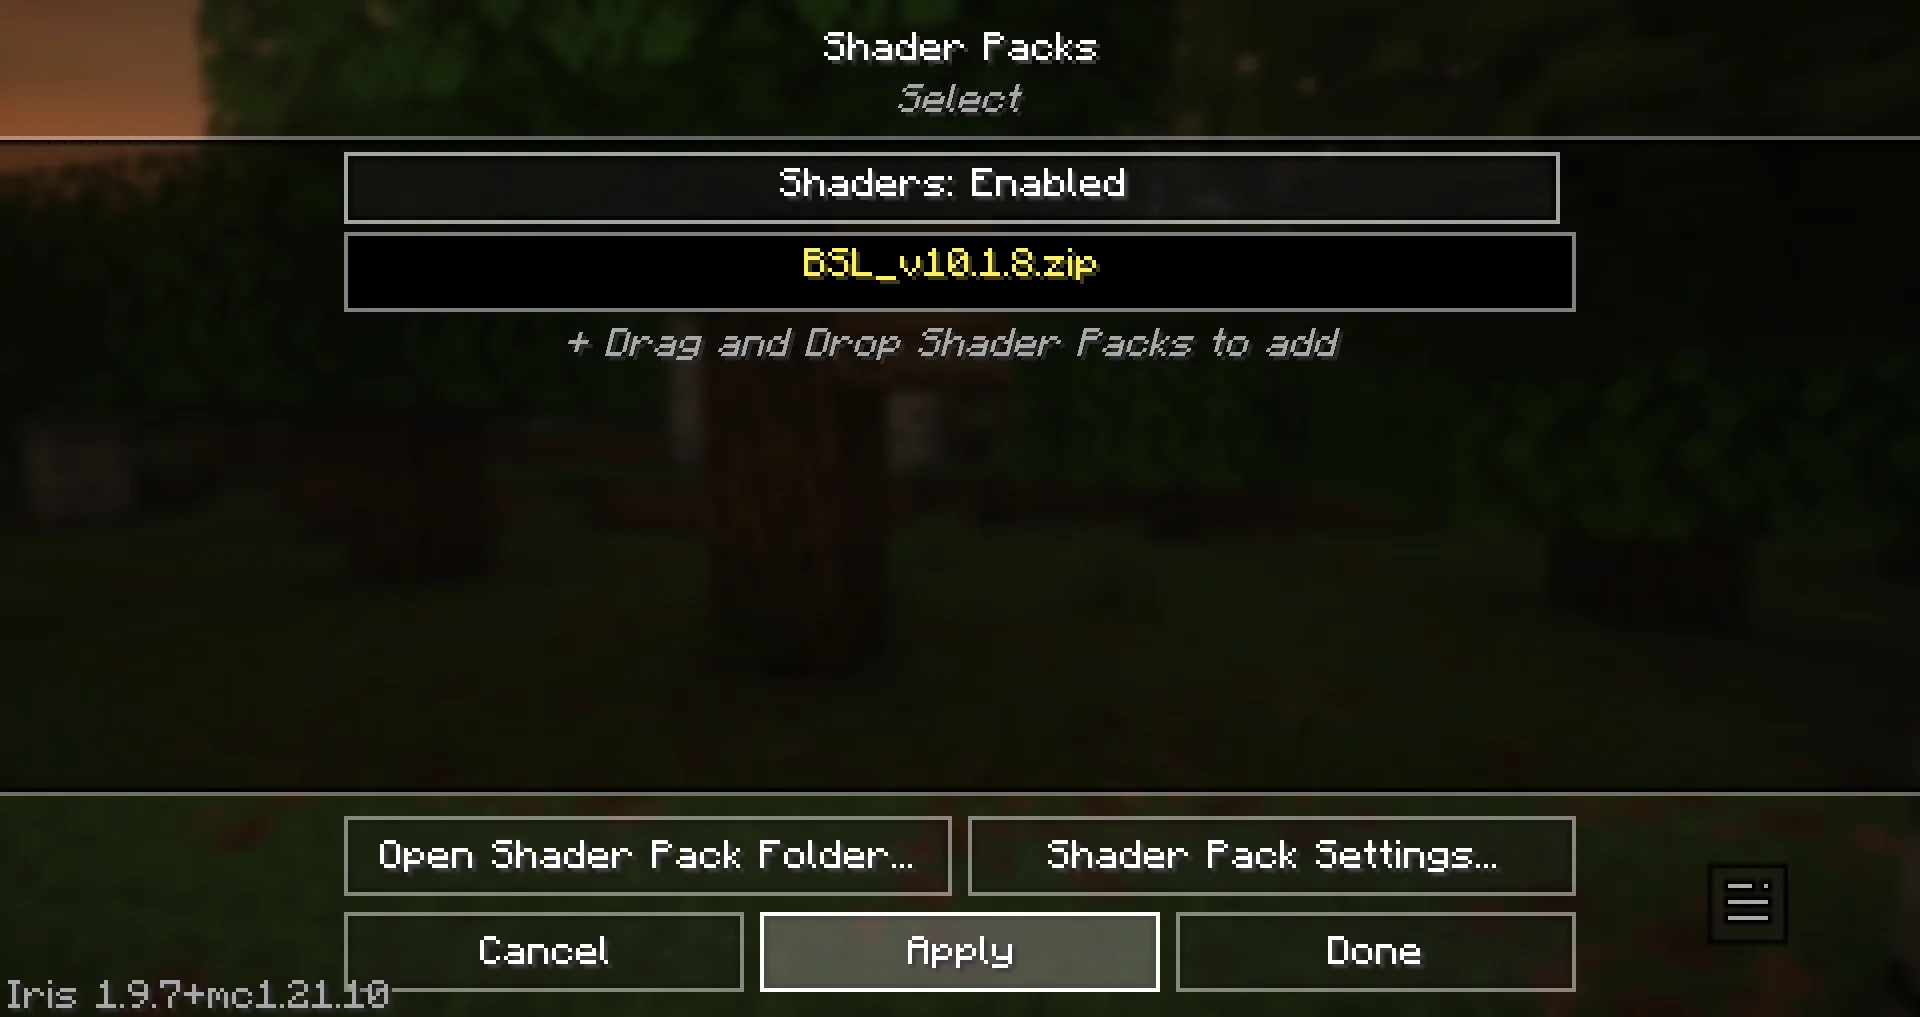
Copy the shader pack’s original ZIP into that opened folder and leave the archive intact. A resource pack, standalone mod, or installer download is a different kind of file. Return to the shader screen and check the list; the BSL ZIP in this example appeared there without a manual refresh. You can also use + Drag and Drop Shader Packs to add to add a ZIP from the screen. If the pack is still missing, confirm that you used the folder opened by the profile you launched and that the file is the shader-pack ZIP.
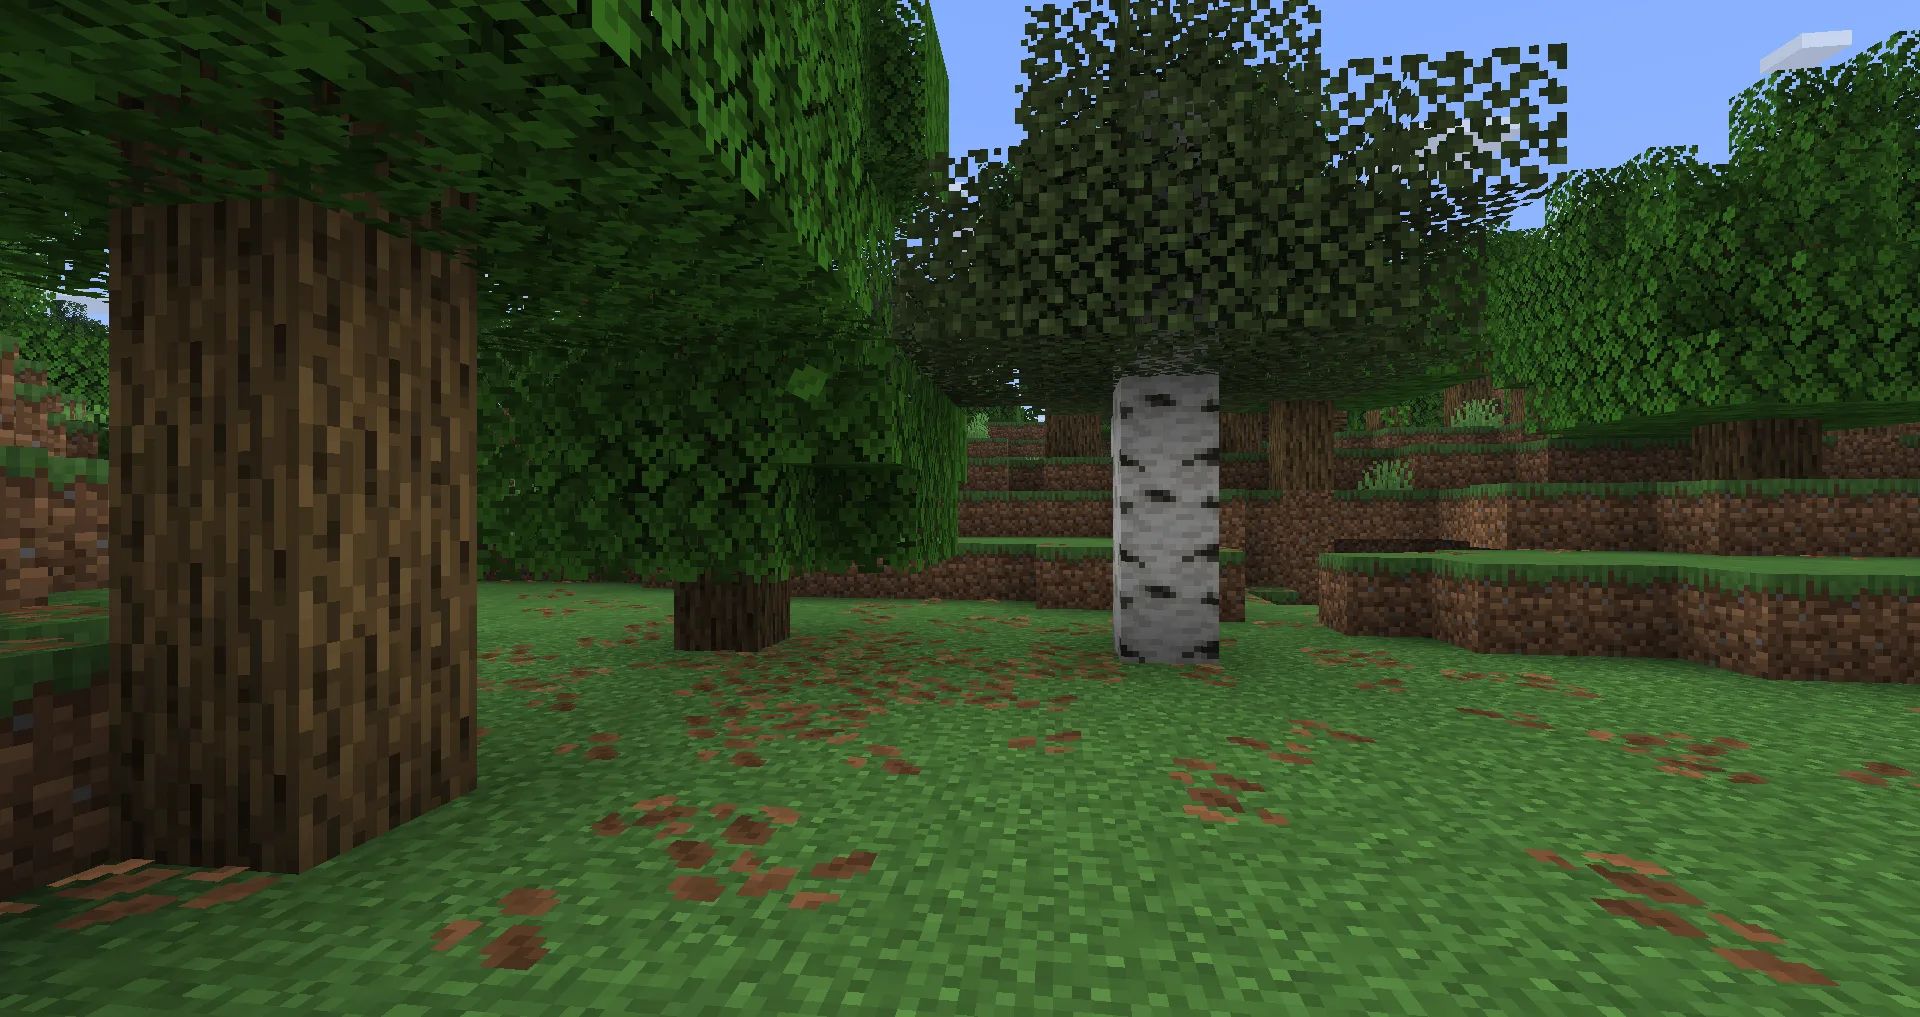
Compare the same scene
Before enabling the pack, stand in a clear spot and note how it looks. Use that same view for the comparison.
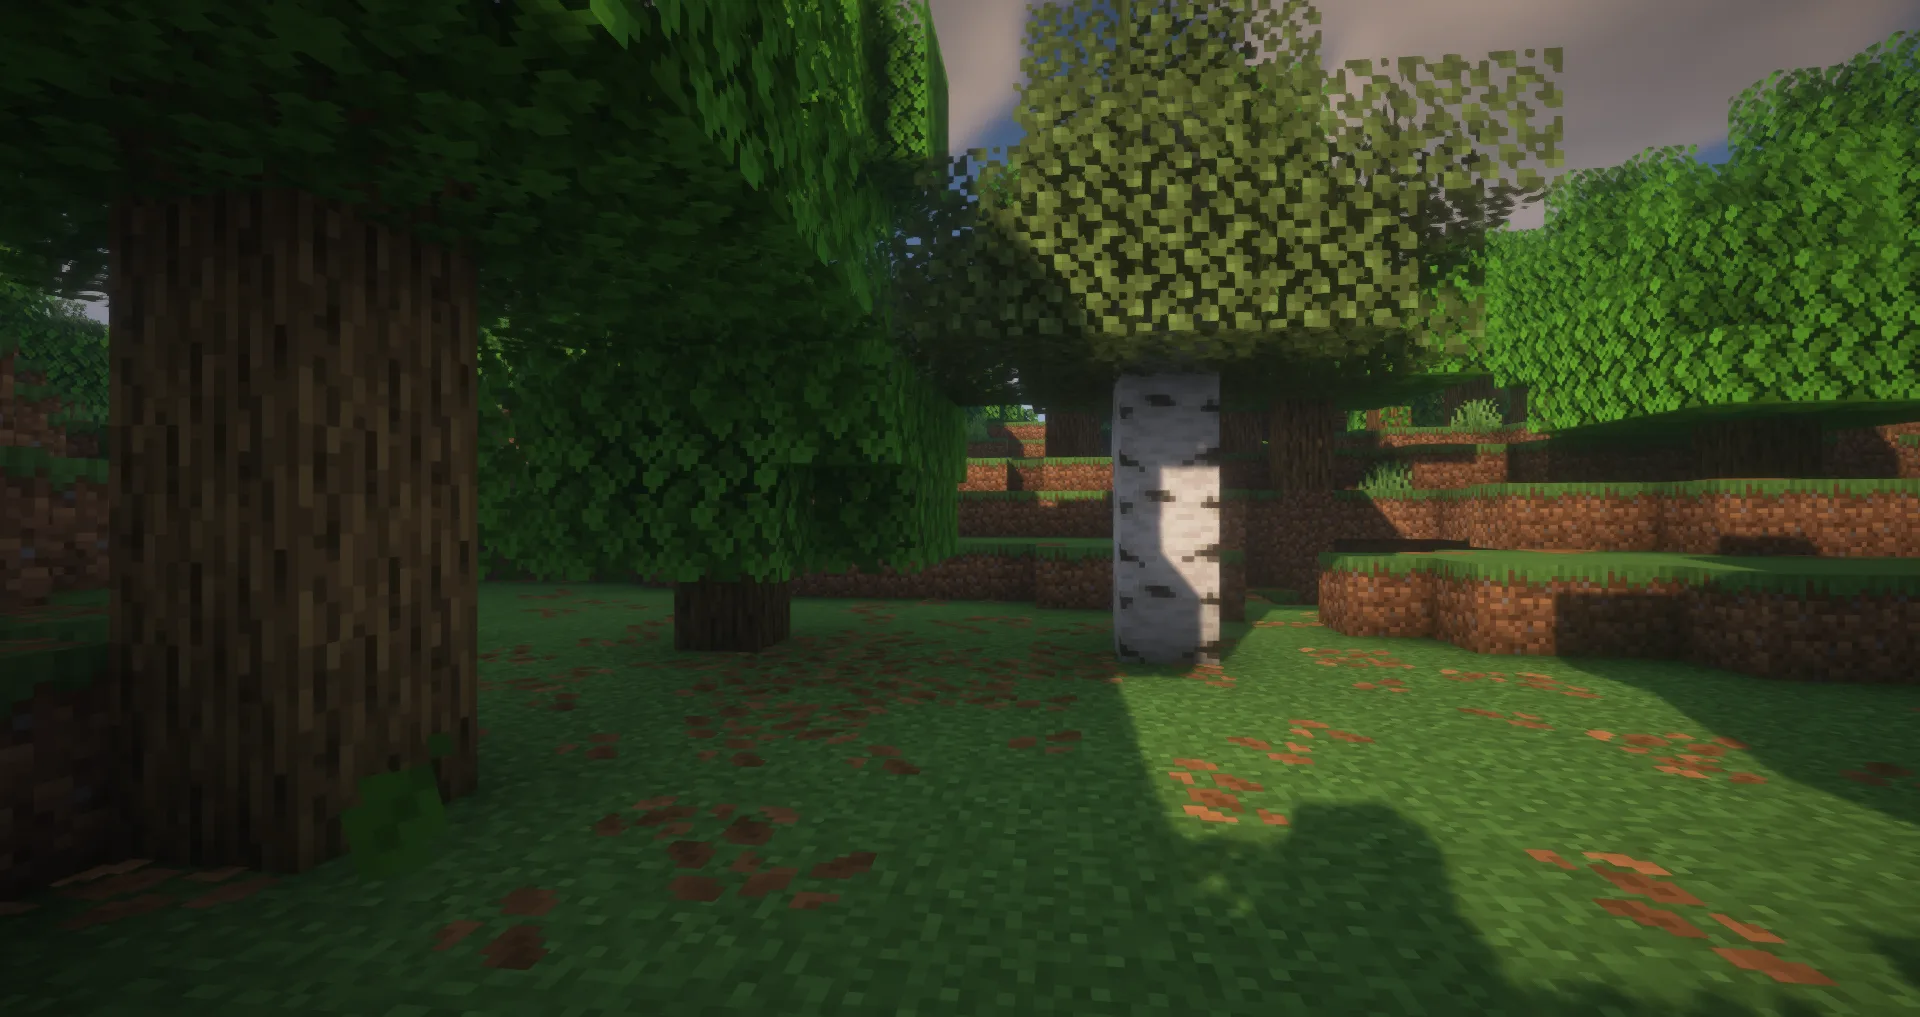
Select the pack row. In the BSL example, its status changed from Shaders: Disabled to Shaders: Enabled. Choose Apply, then Done. In the same oak-and-birch clearing, the BSL view shows directional canopy shadows across the birch and grass, with brighter foliage. If the view does not change, reopen Shader Packs..., confirm the pack is selected, and choose Apply and Done again before checking the scene. You can turn the pack off and back on to compare the same place.
Comments 0
Share what worked, ask for help or reply to another player.
Use your Modonix account to join the discussion and manage your comments.
Sign in to commentNo comments yet. Share what worked for you.