
Nullscape makes choosing a route through the End part of the landscape's appeal. Instead of treating every island as a flat place to cross, look for ridges, lower shelves and arches that connect different heights. A small outpost or bridge can have a very different role depending on which level you choose.
Read the ridge before the horizon
In the crystal-covered area, purple formations sit above dark stepped ground. Behind them, the terrain drops sharply toward pale islands and distant slopes. The bright crystals draw attention, but the edge below them is the part to inspect before moving closer.
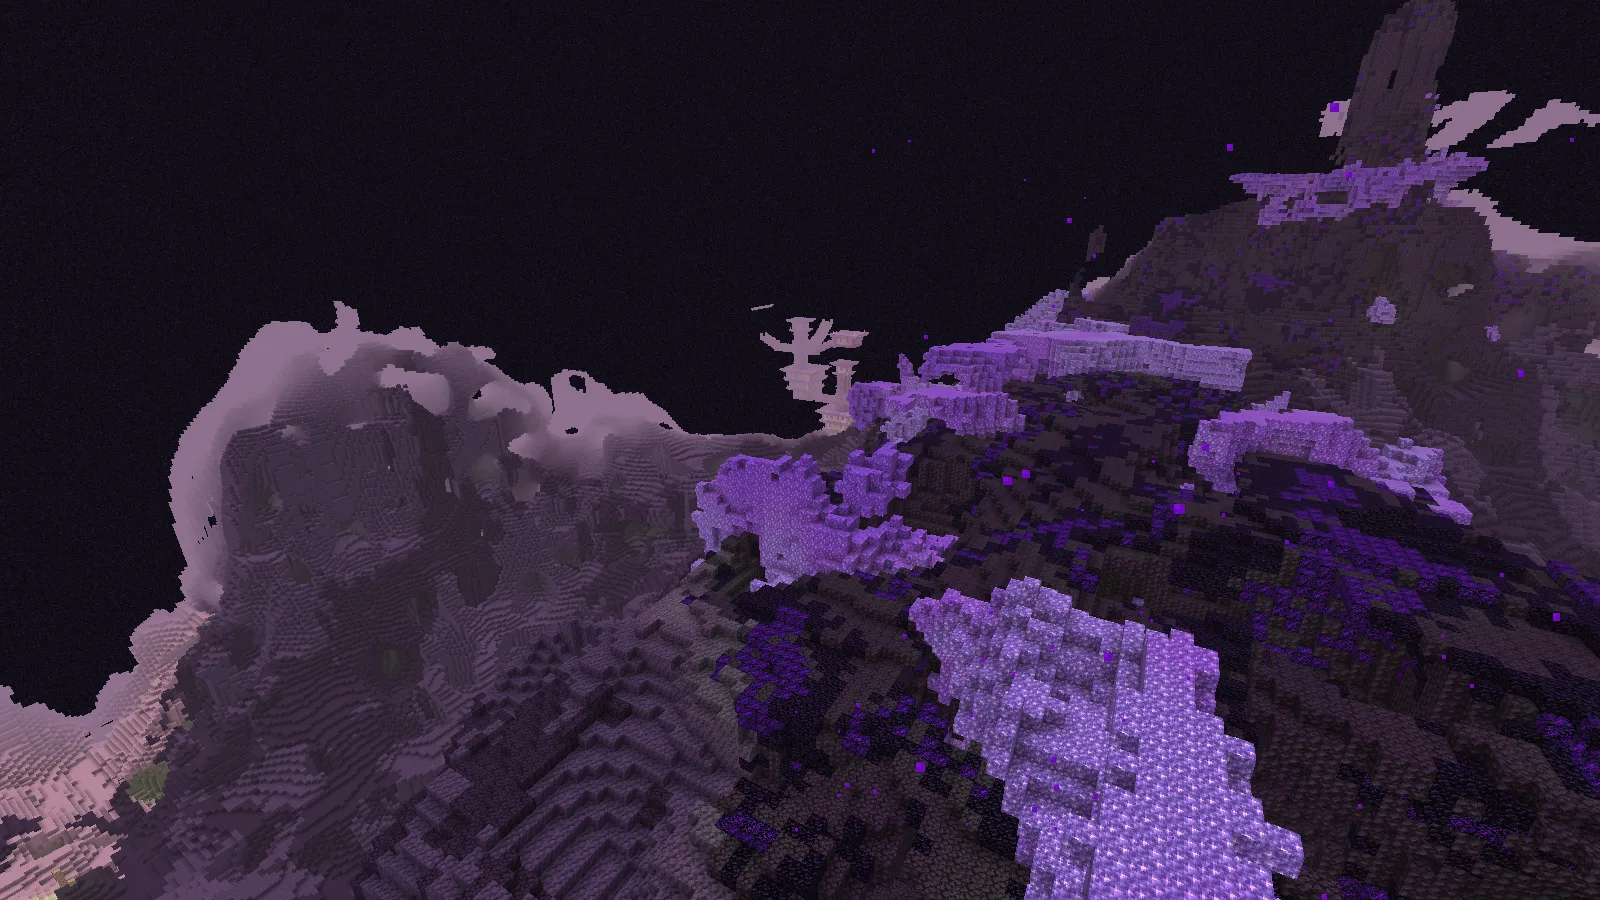
Choose a broad stopping place before planning the next crossing. A visible flat landing is more useful than aiming toward a distant peak just because it looks close. If you intend to use an ender pearl, first identify where you want to arrive; keep a bridge route in mind when the far side is narrow or obscured.
At ground level, the same area feels much tighter. Amethyst blocks rise beside the viewpoint, and the dark ridge is partly hidden between them.
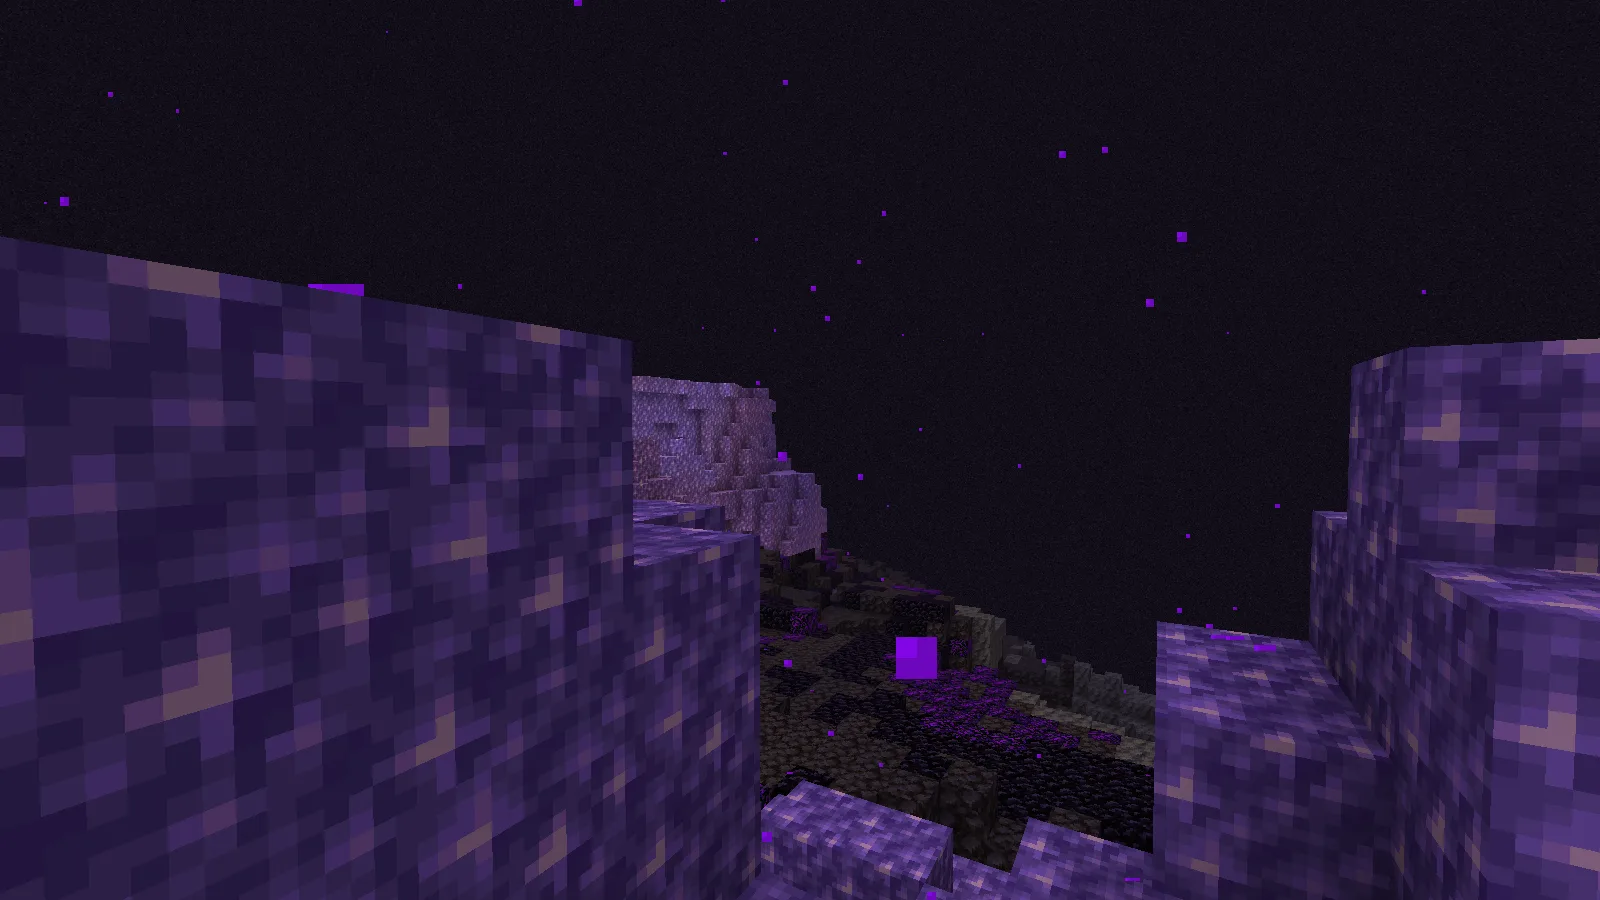
That close view suggests a small sheltered stop rather than a large cleared platform. A short marked path could lead around the formations, with storage set back from the drop. Leave enough open ground to turn around without stepping toward an unseen edge. Check the route back as carefully as the route forward.
Think in levels, not just distances
The tall island view near the Shadowlands target has open arches, stacked ledges and large gaps through the terrain. Two points can be close on a map while sitting at very different heights.
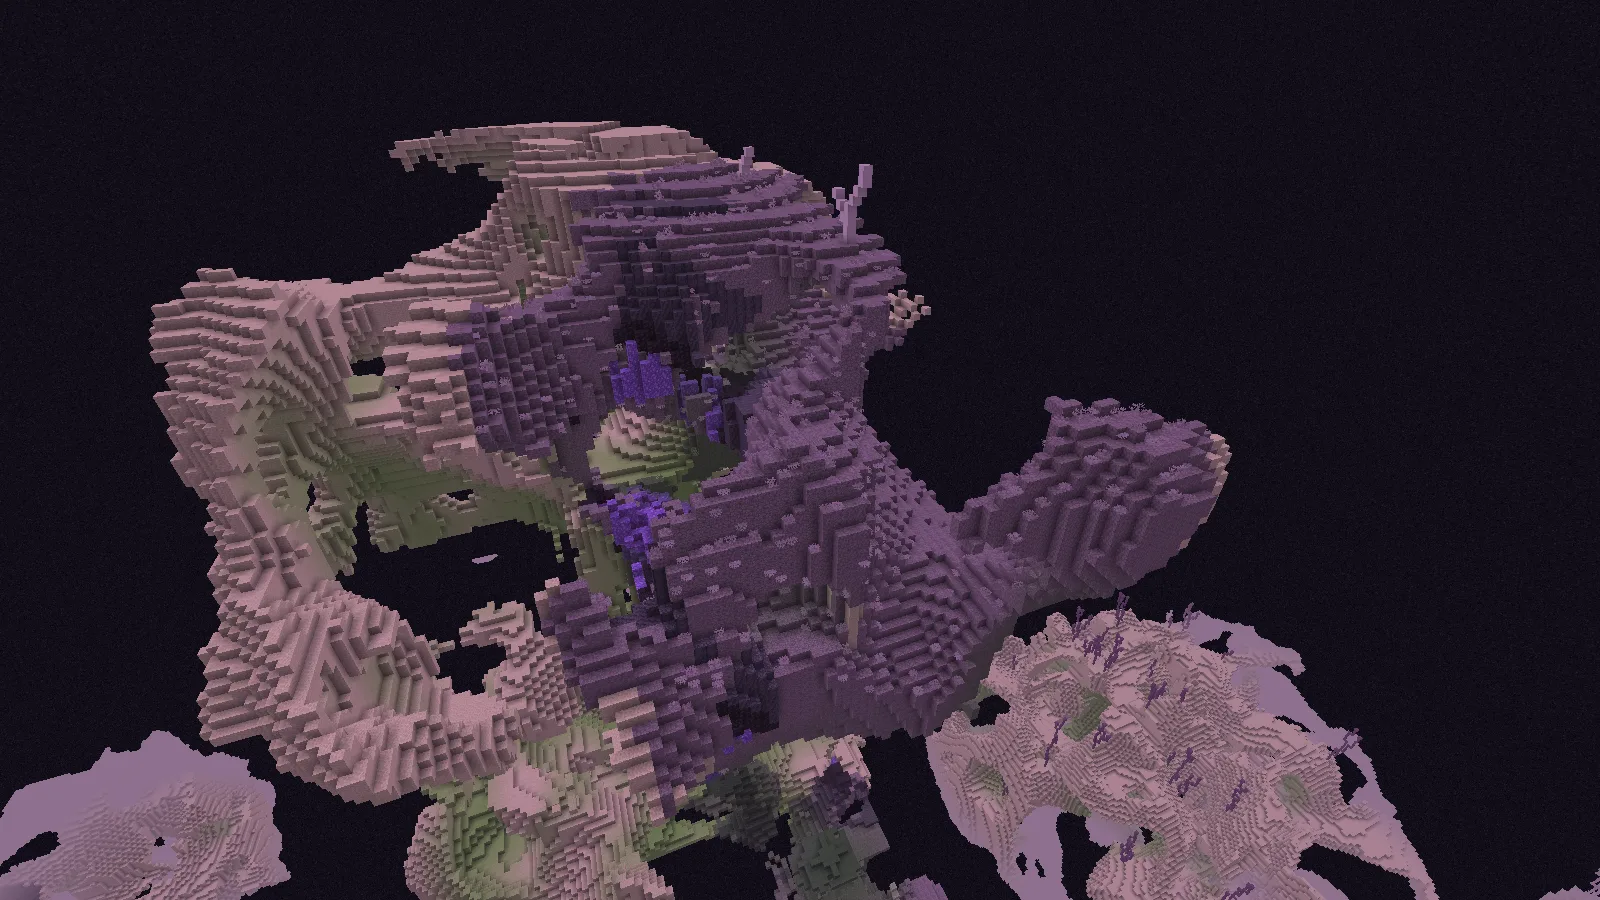
For a bridge, look for two solid shelves at a similar level. Decide where each end will meet the island before filling in the span. A small landing at either end would give you room to stop, turn and keep the onward path clear. You do not have to connect the highest peaks to make a useful route.
The side view reveals how much open space sits underneath the upper terrain. Pale end stone, darker rock and crystals surround an arch with the void beyond it.
A hanging lookout could fit this shape, but its access matters more than its silhouette. Plan a route down from a broad upper ledge, then decide where a small enclosed room could sit. Keep the exit obvious from inside; a dramatic window is less useful if the only way home is difficult to see.
Check the lower edge too
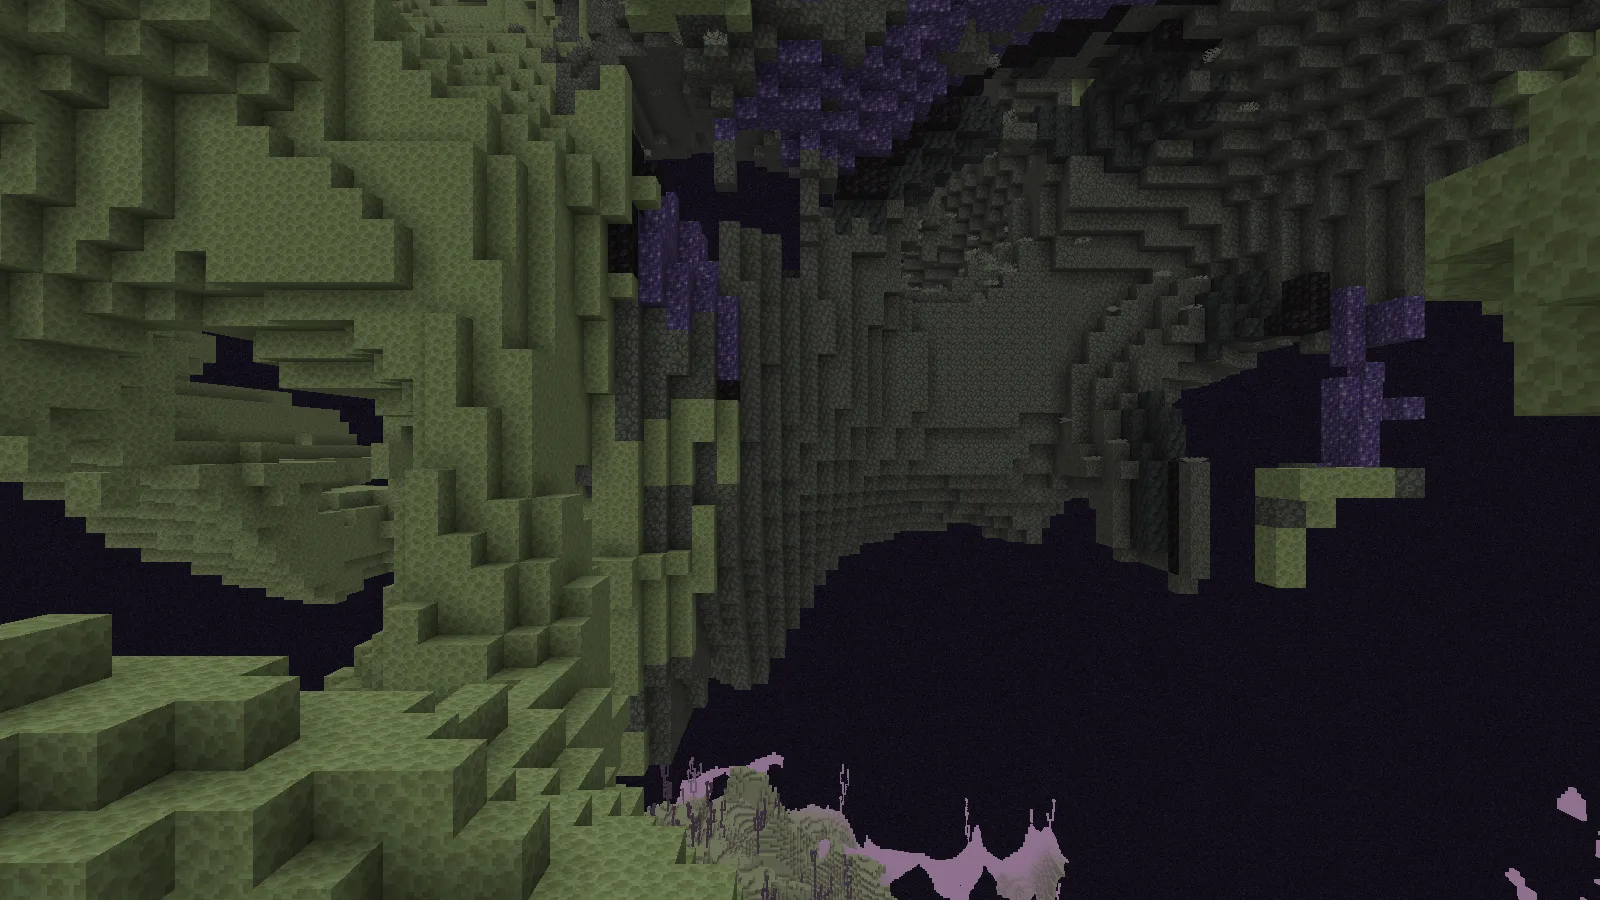
Near a lower island surface, a dark staircase-like slope faces a pale end-stone ledge across a gap. The view is less spectacular than the high arches, but it gives you a concrete route choice: follow the dark side, build toward the lighter shelf, or turn back to a wider crossing.
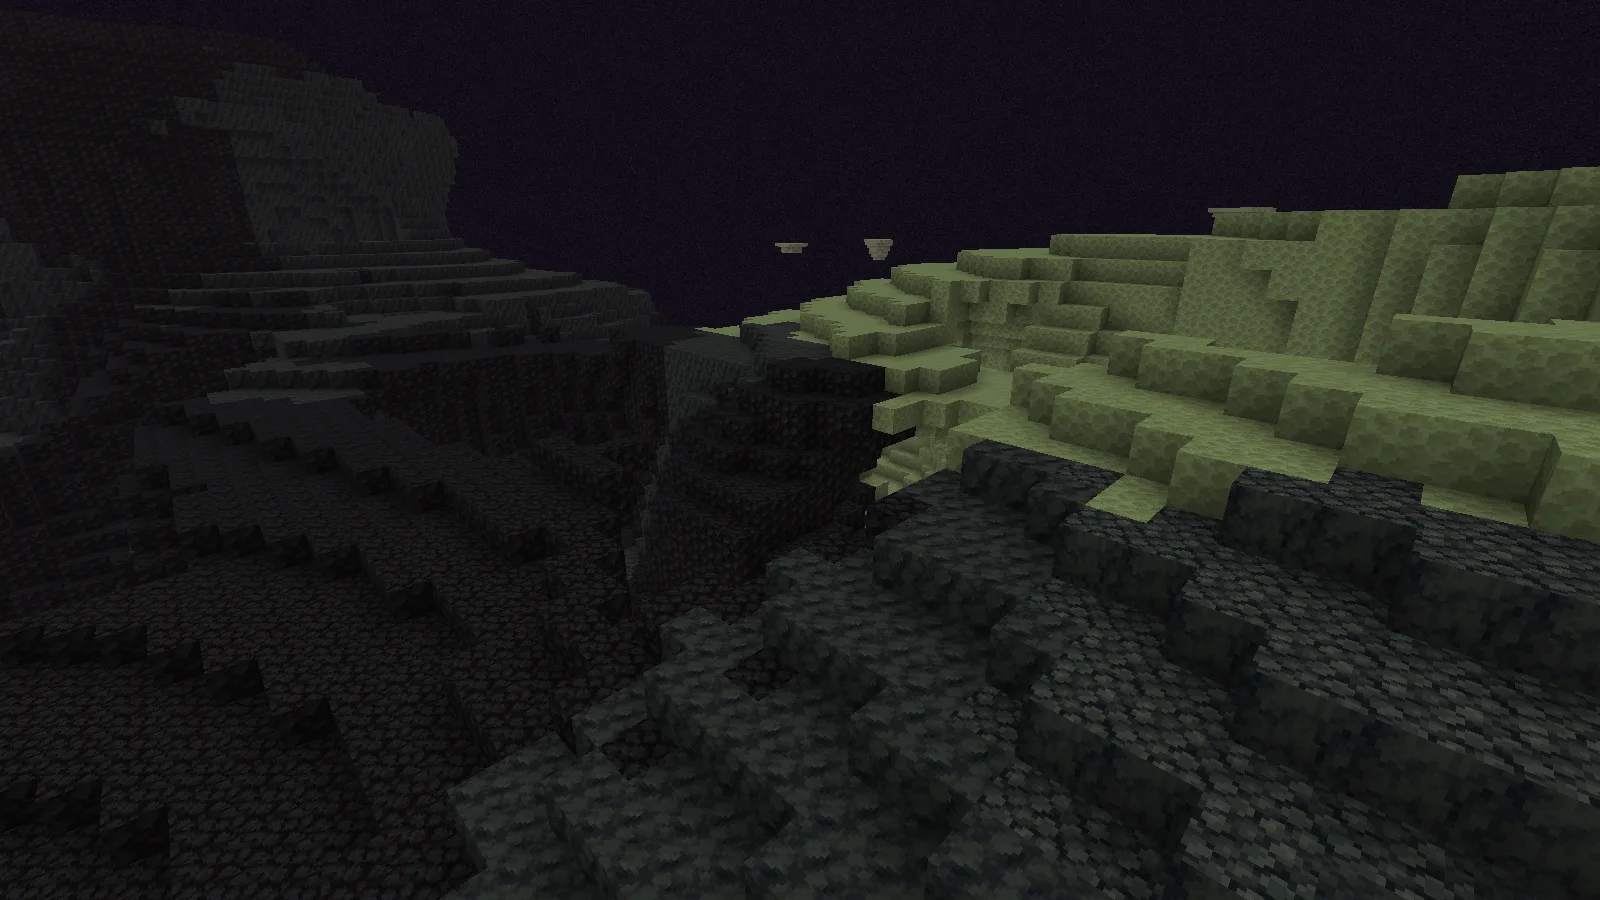
Before committing materials, follow the visible shelf with your eyes and check whether it actually joins the next area. A tiny projecting ledge is a poor place for the end of a busy path. Favor a broad anchor point, even if it makes the bridge slightly longer.
Install before exploring the new End
Choose the Data Pack ZIP for your Java version. While creating a new world, open More → Data Packs, add the intact ZIP and move it to Selected. Choose Done before creating the world. This file belongs to the world; it is not a shader or resource pack.
Begin with a new world and fresh End terrain. Existing islands are already generated and will not reshape themselves to match the new rules. Nullscape's author advises against adding it to an existing End, so keep your established world intact and make a complete backup before changing its setup. There is no need to delete a dimension to try the pack in a separate world.
The views here use Nullscape 1.2.20 on Java 26.2, with default resources and no shader. The seed is 20260928100. Use the same game and pack version when comparing terrain; a later release can generate a different landscape.
Comments 0
Share what worked, ask for help or reply to another player.
Use your Modonix account to join the discussion and manage your comments.
Sign in to commentNo comments yet. Share what worked for you.