The most useful first mod is one you can build, find and launch again. Fabric’s example project gives you that starting point: a small source folder with the code, resources and build setup already connected. Your job is to turn that working starting point into one idea of your own.
What you get at the first launch
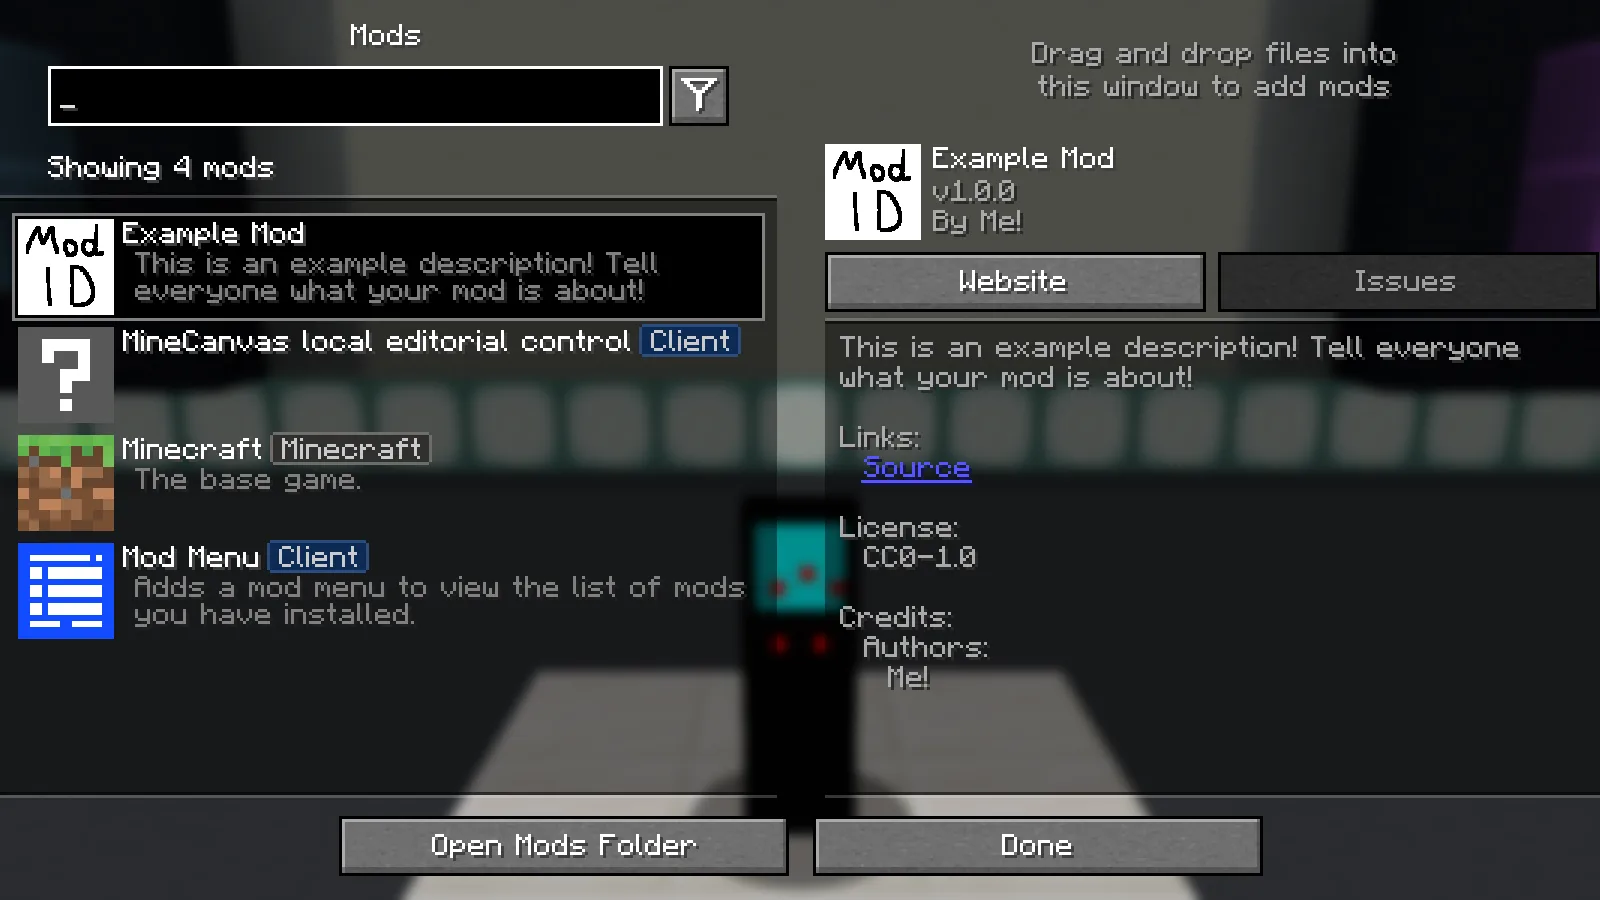
The untouched template loads with its placeholder name. Mod Menu is a separate helper used for this view.
Here is the Java 26.2 example after we built its regular JAR and loaded it in a separate Fabric instance. Mod Menu lists Example Mod, with the template’s placeholder name and author. That entry is a useful first checkpoint before you rename things.
The untouched example does not add a new sword, machine or biome. Its first success is that the project builds and loads. Mod Menu is a separate helper used for this picture; it is not a feature supplied by the template.
Choose the source for the game you want to support
Open Files and choose the Minecraft target first. The new 26.2 source snapshot is the one used here. Earlier source snapshots remain available for their own game versions; use them if that is where your project needs to live.
For the 26.2 snapshot, use JDK 25. The older snapshots on this page have their own build requirements. Switching only the Minecraft number in a build file does not automatically update all the code and dependencies around it.
From source ZIP to a running mod
- Extract the source ZIP into a new development folder. Open the folder that actually contains build.gradle, gradlew.bat and gradle.properties. A downloaded repository archive can have an extra folder around them.
- Open a terminal in that folder. On Windows, run .\gradlew.bat build. On macOS or Linux, use ./gradlew build. Let the first run finish downloading its build dependencies.
- When the build finishes successfully, open build/libs. Choose the regular mod JAR. The -sources.jar contains source code and is not the file to install for ordinary play.
- Put the regular JAR in the mods folder of a matching Fabric instance. Install any dependencies declared by that example’s fabric.mod.json, then start that instance.
- Check that the example loads before changing its structure. Keep this first working build so you have something to compare with later.
For a separate development game, run .\gradlew.bat runClient on Windows or ./gradlew runClient on macOS/Linux. This is the template’s development launch, not a reason to copy source files into your everyday saves folder.
Make one recognizable change
Start with the display name and author in src/main/resources/fabric.mod.json, rebuild, and look for your new name in the mod list. It is a small change with an obvious result. Once that loop feels comfortable, move to your first item or other feature.
Renaming a mod ID is a bigger step than changing a display name: entrypoints, Java packages, resources and mixin references may depend on it. Keep those names consistent and make one change at a time. A tiny working feature is a better place to grow from than a large folder of half-connected changes.
If your idea needs a model or texture, our Blockbench walkthrough starts with a small lantern. Decide what the object does in your mod separately from how it looks.
When the first build gets stuck
- Java version error: run .\gradlew.bat --version and check the JVM Gradle is actually using. Installing a new JDK does not always select it in your editor.
- A dependency cannot be downloaded: read the first failed download and retry once the connection is available. Changing the ZIP’s extension will not help.
- The JAR exists but the game cannot see it: check the launched instance, its Minecraft version and its loader. Our Fabric installation guide shows where the finished file belongs.
- Nothing new appears in the world: the original example is a starting project, not a content pack. Check that it loads before expecting a feature you have not added yet.
FabricMC contributors maintain the original template. The screenshots and build walkthrough here are Modonix’s own exercise; the downloadable source keeps its original notices and attribution.
Comments & questions
Share what worked, ask for help or reply to another player.
No comments yet. Share what worked for you.