
The first goal in OneBlock is wonderfully small: give yourself somewhere to stand. You begin above the void with a renewing block beneath your feet and an empty hotbar. A few pieces of dirt and wood are enough to turn that exposed starting point into a tiny working island.
Let the first block do its job
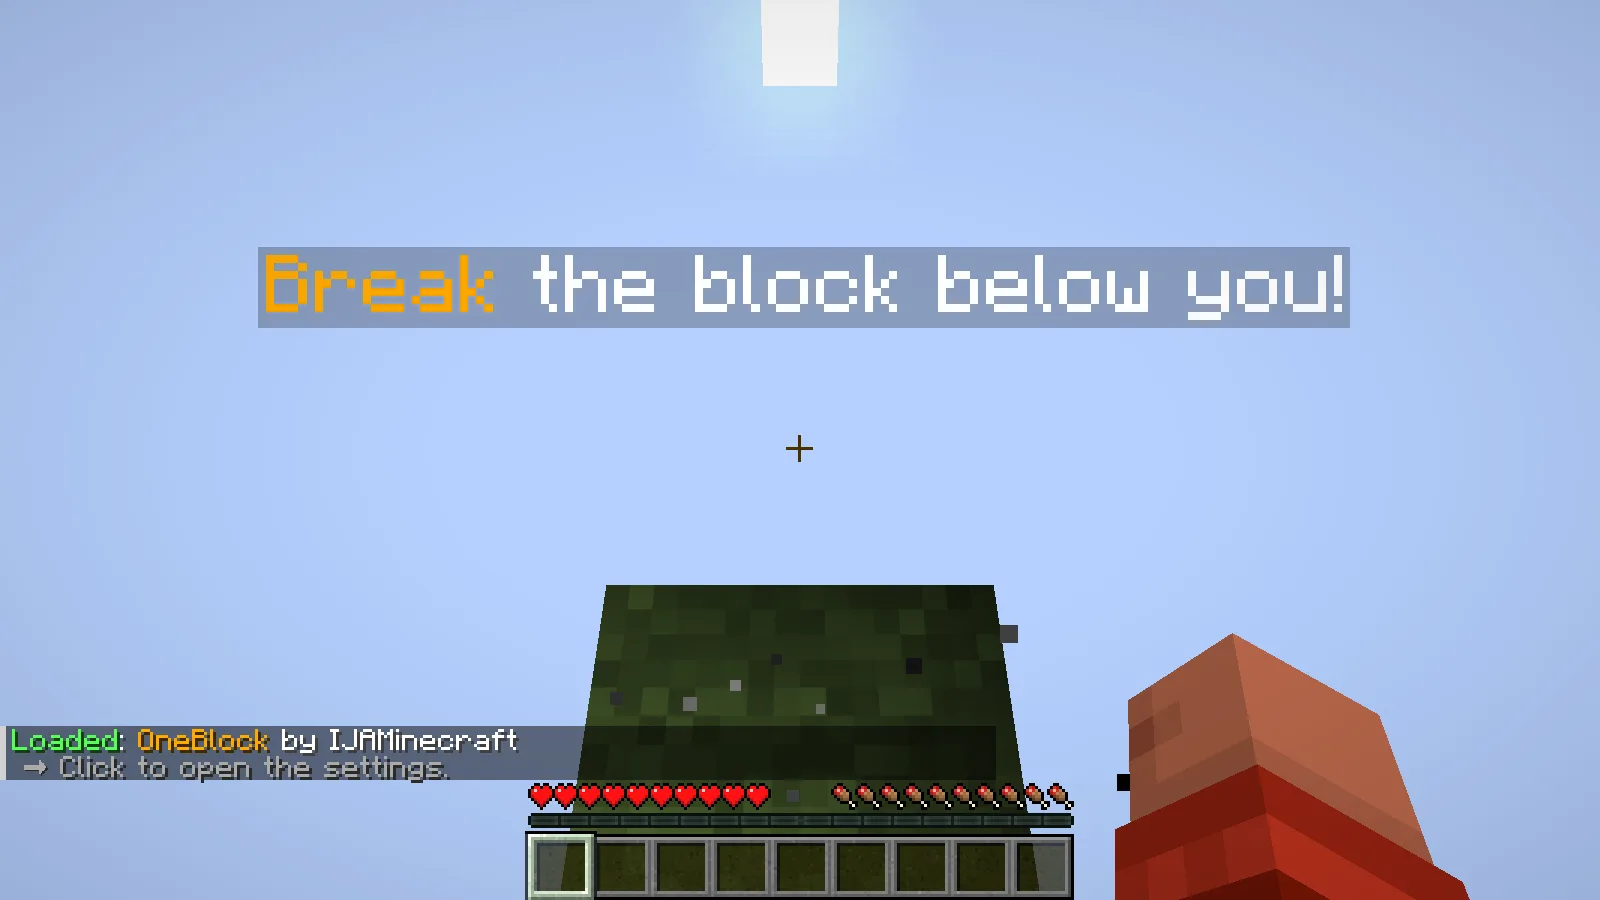
The opening prompt tells you to break the block below you. Stay over the center, look down and mine it. Another block takes its place, so the early rhythm is to collect a little material, pause and decide what the island needs next.
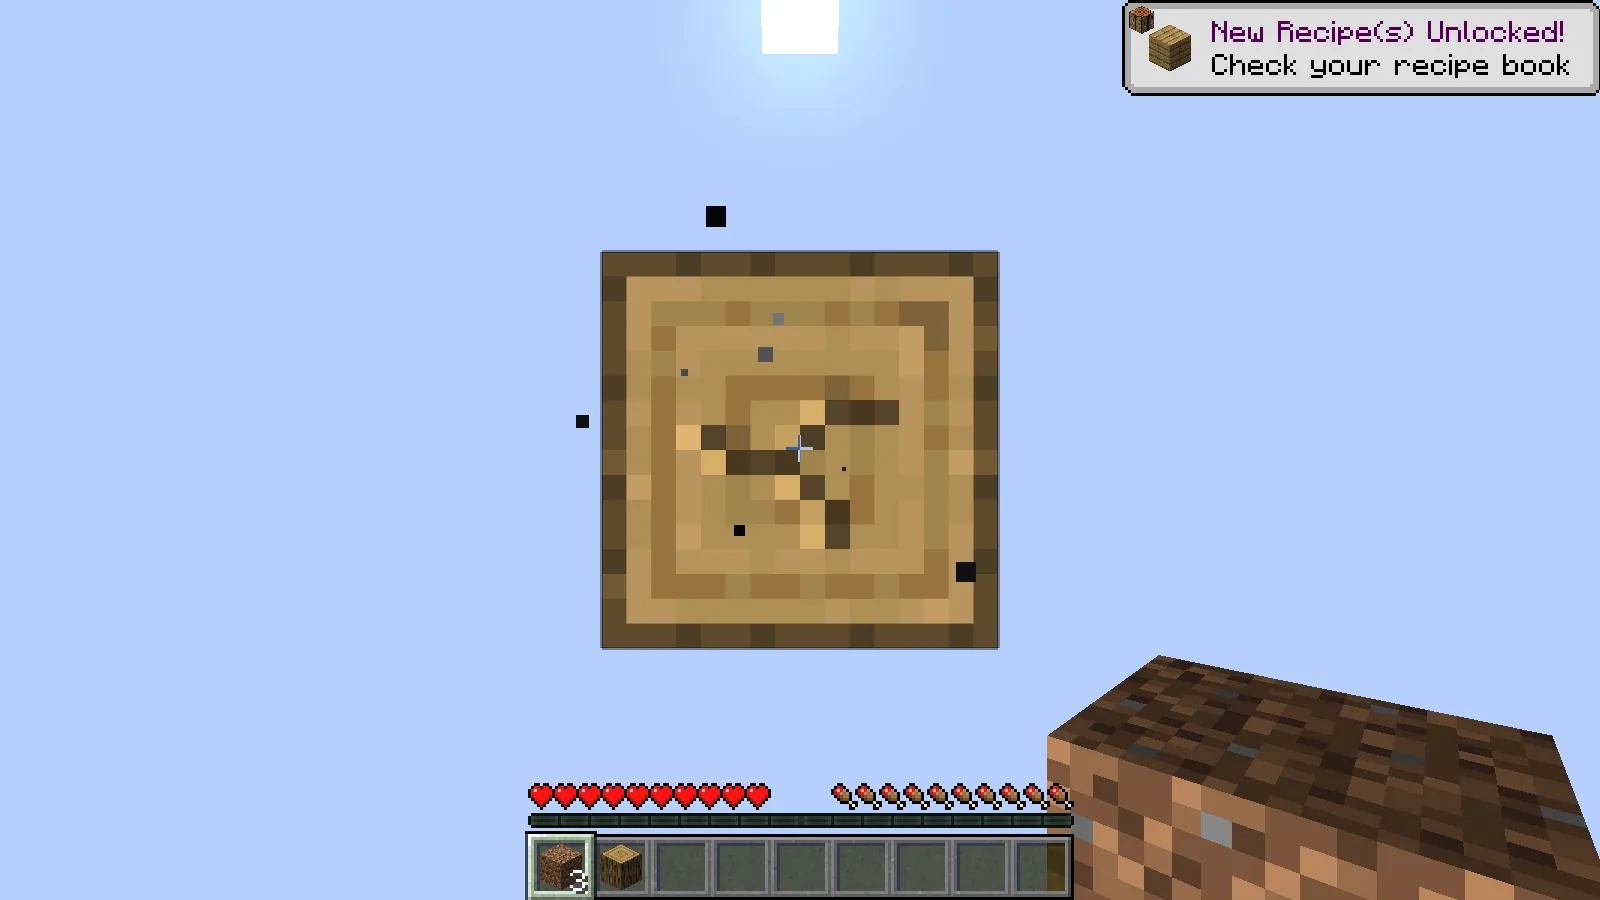
In this start, the first small collection was three dirt blocks and one oak log, with another log appearing in the center. Those items have different jobs: dirt makes standing space, while wood can become crafting supplies. Keeping them separate in your hotbar makes it easier to select a building block without accidentally using the material you meant to save.
Spend the first dirt on room to move
Three dirt blocks were placed against the sides of the starting block before mining continued. That is still a tiny platform, but it gives you more room than a single square. Keep the central renewing block easy to identify as the surrounding floor grows.
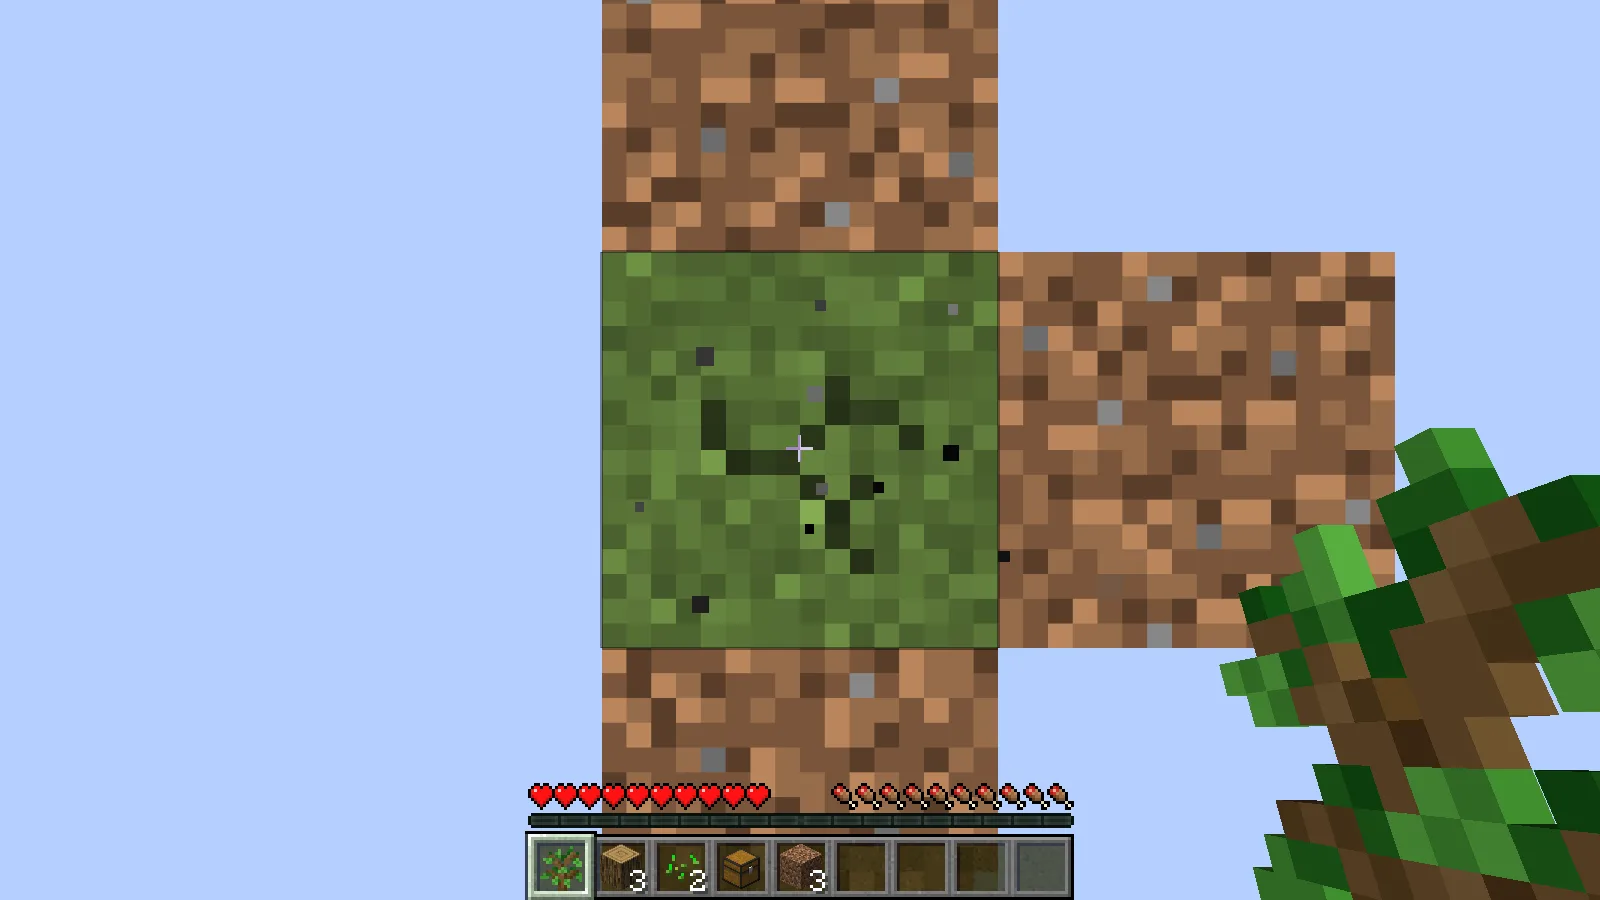
When placing blocks yourself, crouch near an edge and aim at the side face where the next block should attach. Work outward a little at a time. There is no advantage in making a long narrow bridge before you have a useful area around the center.
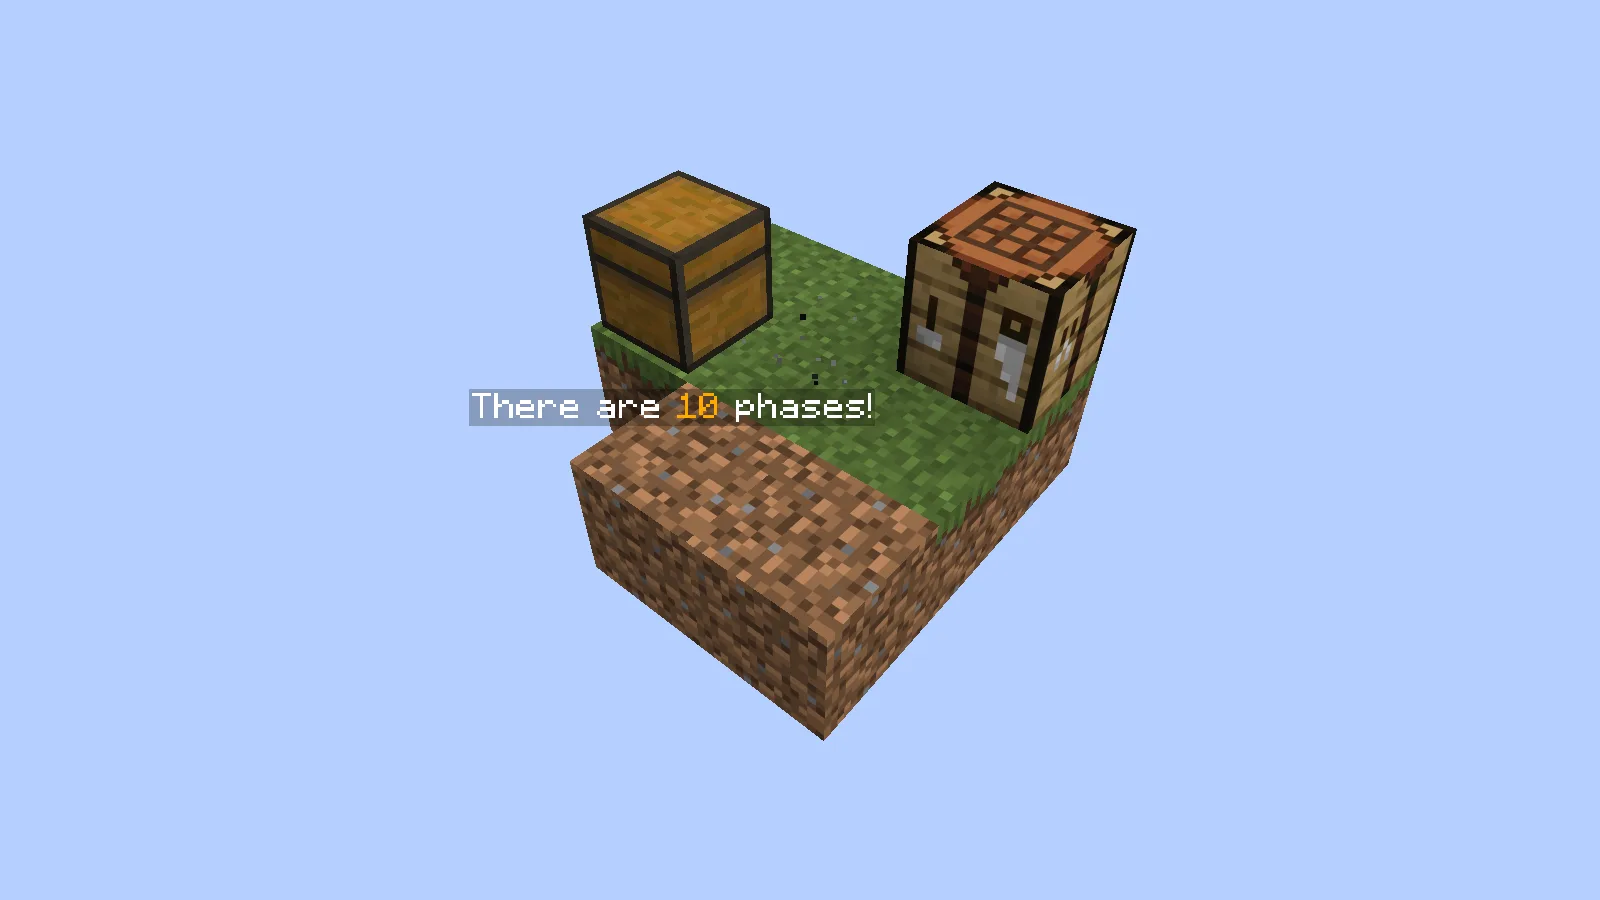
The platform in this opening was later filled out to 3 × 3 blocks. A chest and workbench went to the side, leaving the central block available for mining. That layout is a sensible first checkpoint: room to turn, a crafting surface and storage within reach. It is still an exposed platform, so a larger floor and edge protection remain worthwhile next jobs.
Reserve four planks for the workbench
After collecting four oak logs, crafting produced 16 oak planks. Putting one plank in each square of the inventory's 2 × 2 crafting grid made a workbench, leaving 12 planks for the next decision.
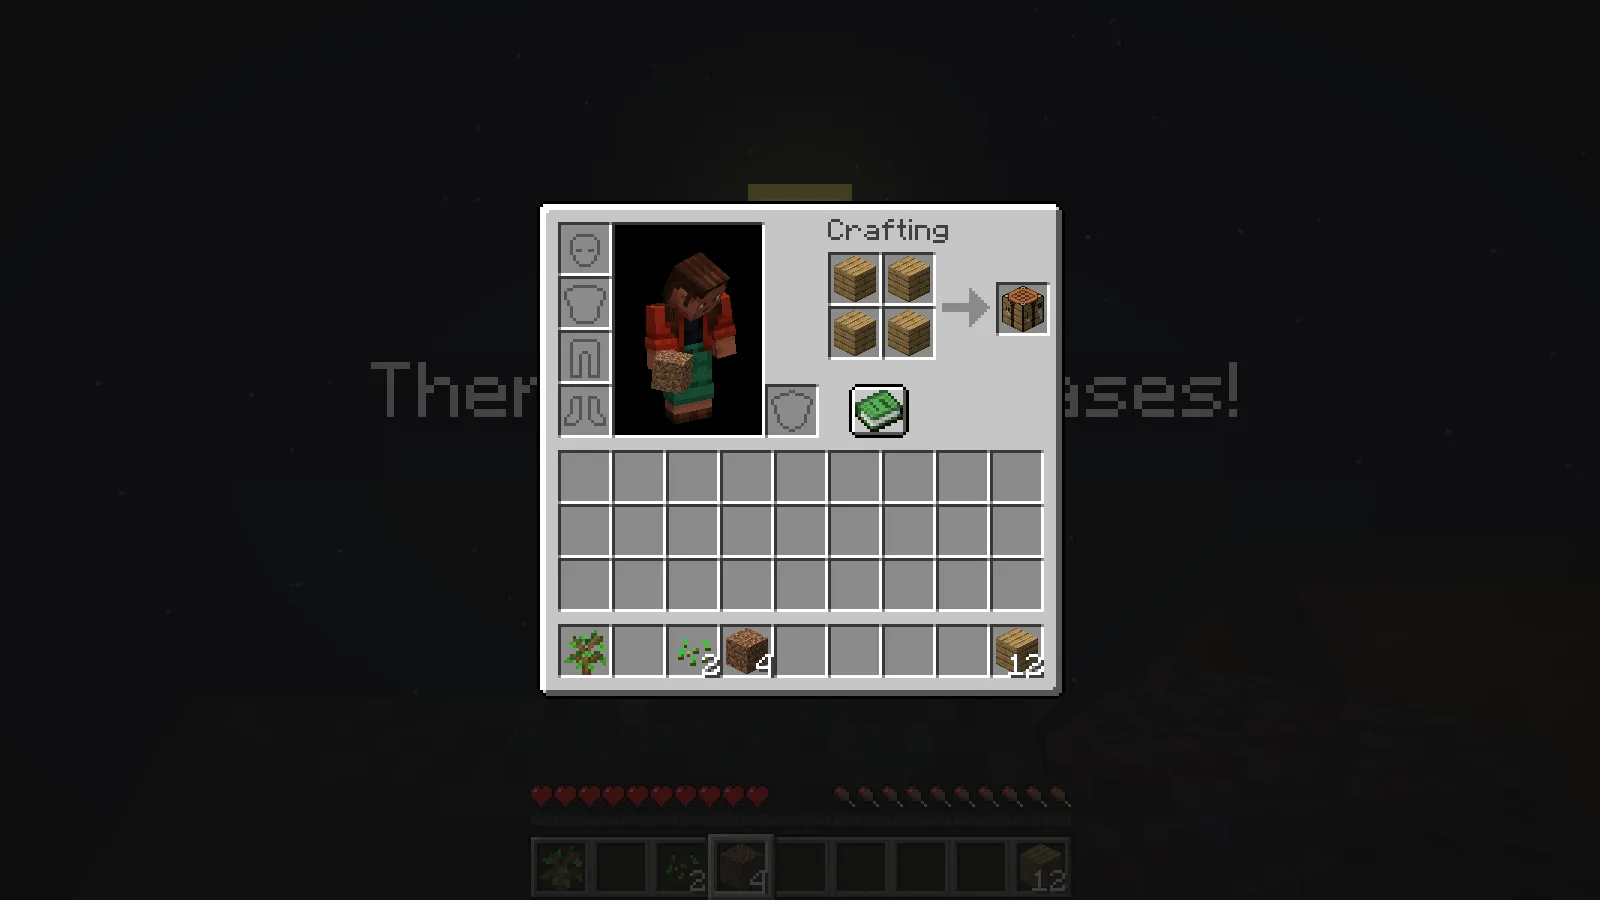
Place the workbench on the surrounding floor rather than on the renewing block. Keep a clear place to stand while using it. The remaining wood is a choice, not a shopping list you must finish immediately: you can keep a reserve for tools or use some for more floor space. Check what the block supplies next before spending everything on one expansion.
Put future resources somewhere deliberate
The early inventory also included an oak sapling and two wheat seeds. After the Tutorial Chest was placed, those items were moved into it. They were stored by the player; the screenshot is not showing treasure found inside that chest.
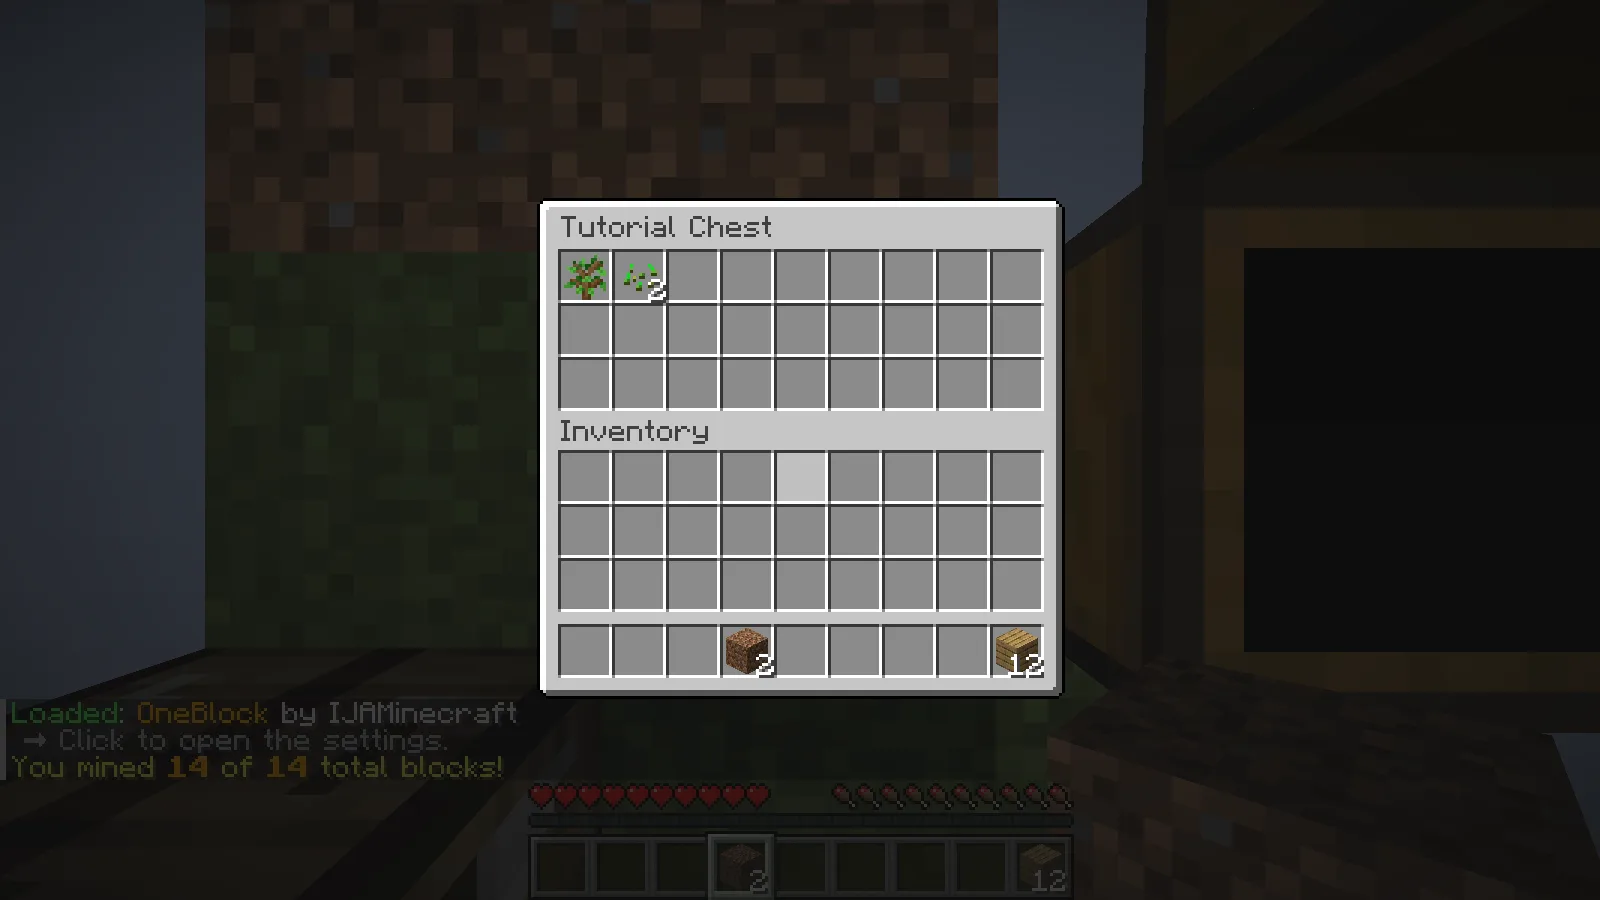
At this point, the map's counter shows 14 blocks mined. The useful result is a small workspace with the growing supplies put away. Leave the sapling and seeds there until you have planned a planting area, enough room around it and the other resources you need.
What comes after this start
IJAMinecraft describes ten main phases after the tutorial, with themed blocks, items and encounters. Later progression reaches Nether materials and an End portal. This opening covers the first workspace; it does not show those later stages. As the island grows, leave room around the central block for more than mining alone.
Install the world for the matching version
This example uses OneBlock 3.10.0 for Minecraft Java 26.1. Extract the downloaded ZIP and put the complete OneBlock by IJAMinecraft (26.1) folder inside your game's saves folder. The world folder should contain level.dat directly, alongside its other files. Keep datapacks/ija-one-block.zip and resourcepacks/resources.zip in their supplied folders.
Launch Java 26.1, choose Singleplayer and open OneBlock. This is a saved world, so the outer ZIP does not go in the Data Packs menu. If the world is missing from the list, check for an extra wrapper folder around the real world. Keep a backup of your progress before changing versions.
Comments & questions
Share what worked, ask for help or reply to another player.
No comments yet. Share what worked for you.